Manage Items Page
You can work with your Items in powerful and flexible ways using the main Items page in your Bottle
 October 01, 2024
Learn how to set up and work with the Item Sizes you'll need for your inventory. Take a look at how easy it is!
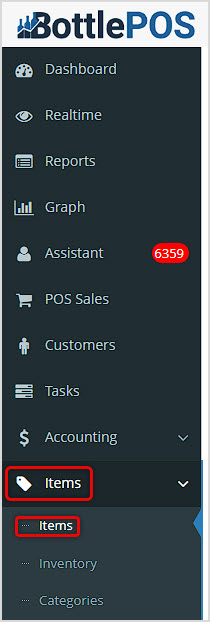
You can get to this part of the system by logging into your Admin app and clicking Items on the left. At the top of the menu that opens, click on Items.
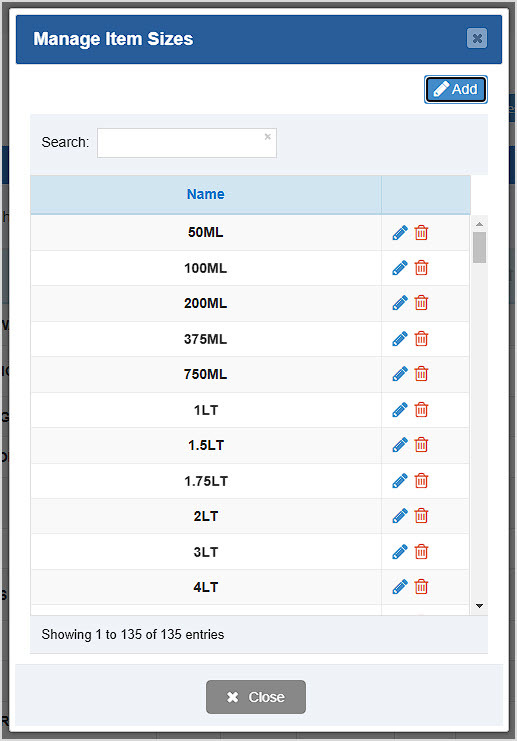
After you've loaded your main Items page, click the Manage Item Sizes button in the upper right to work with your sizes.

It is important to get your item sizes into the database so your items can be indexed and searched that way as needed. This will include the following:
Once you have opened the Manage Item Sizes window you can see the descriptive names of any sizes you have created for your inventory. You can click the Add button to make new ones. If needed you can click the Pencil Icon to Edit an item size, or the Trashcan Icon to Delete one. You'll be asked to confirm that you really want to delete it.
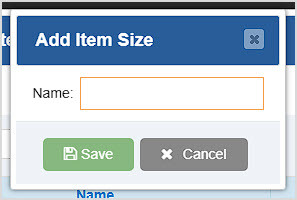
When you click to Add a new size, the Add Item Size window will open. Enter the Name you want and click Save.
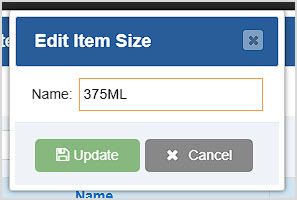
When you click the Pencil Icon to Edit a size you've saved, the Edit Item Size window will open. Adjust the Name as needed, then click Update.
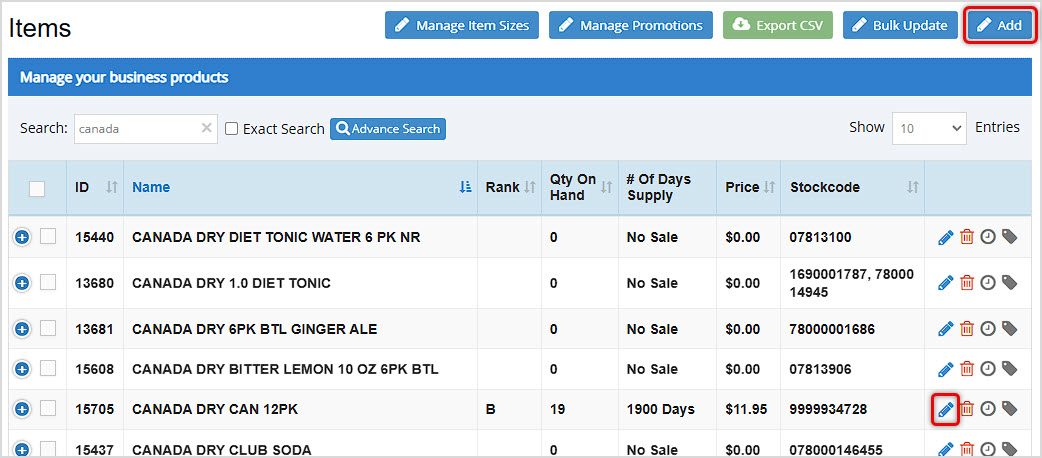
From the main Items page under the Items area of your Admin, you can click to either Add or Edit an item and you can set its Size if you've saved your sizes as described above. You can click the Add button in the upper right to start a new item, or click the Pencil Icon to edit one you've already saved.
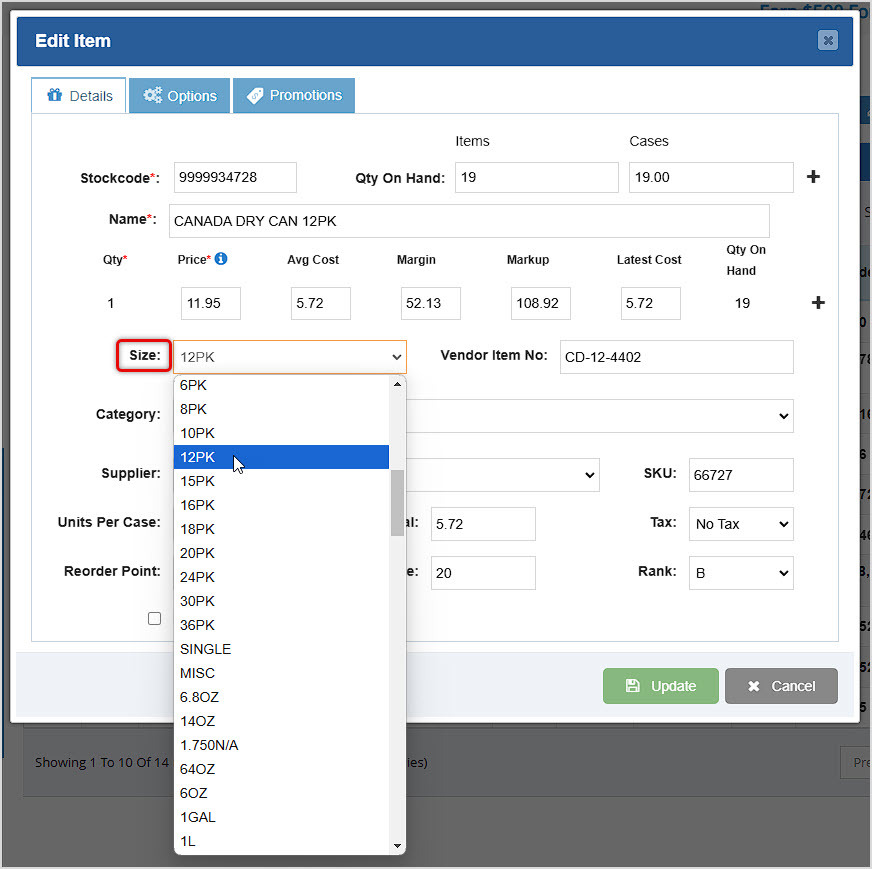
From the Add Item or the Edit Item window, find the Size drop-list on the left and click to view the sizes you've saved. Click the one you want and make any other additions or adjustments to the item's data, then click at the bottom to either Save (when adding a new item) or Update (when editing an existing item).
Q: Can I create items from the Register?
A: Yes. You can create items if needed from the Register using the Add Item button, or if you scan and it fails to find an item, the system will offer to let you add an item. For full details on this topic take a look at this article: LINK: Adding New Inventory from the Register
Q: I have a question, but I can't find my answer here, how do I get more assistance?
A: You can ask any question at the number below. Contact our 24/7 support team at: (877) 381-4087
Is this page helpful?
×Help us improve our articles