How to Create and Manage Customers in the Admin
The Admin has powerful tools for working with your customers. Take a look at how easy it is! You can
 October 01, 2024
You can make Customer Groups for targeted marketing promotions using the . Take a look at how easy it is!

You can get to this part of the system by logging into your Admin app and clicking Customers on the left.
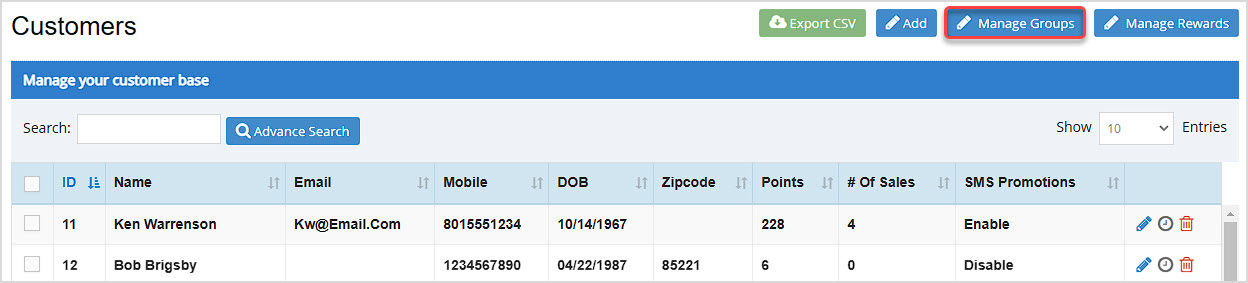
In the Admin once you have opened your Customers page, you can start working with your Customer Groups by clicking the Manage Groups button in the upper right.
The Manage Customer Groups window will open. If there are specific groups of your customers to which you want to send promotional emails or SMS text messages, you can create and/or edit those groups here. You'll see a list of any groups you've already created. The system will give each group a simple ID number, and you'll see each group's Name and the Number of Customers in it. You also have Edit and Delete icons for each. If you have a lot of groups, you can Search for the one you want.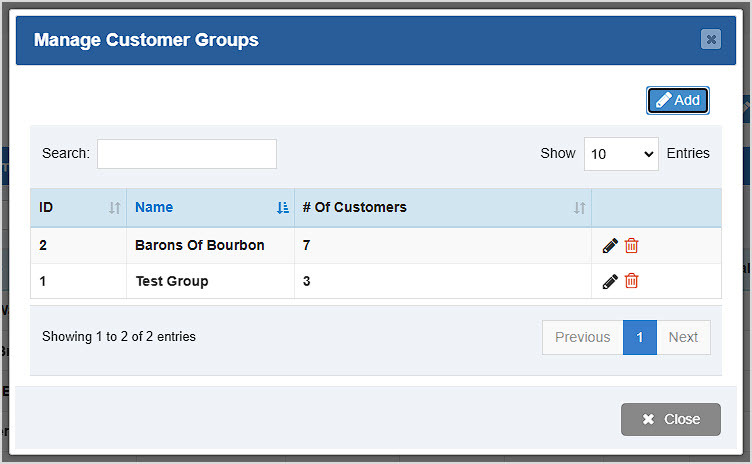
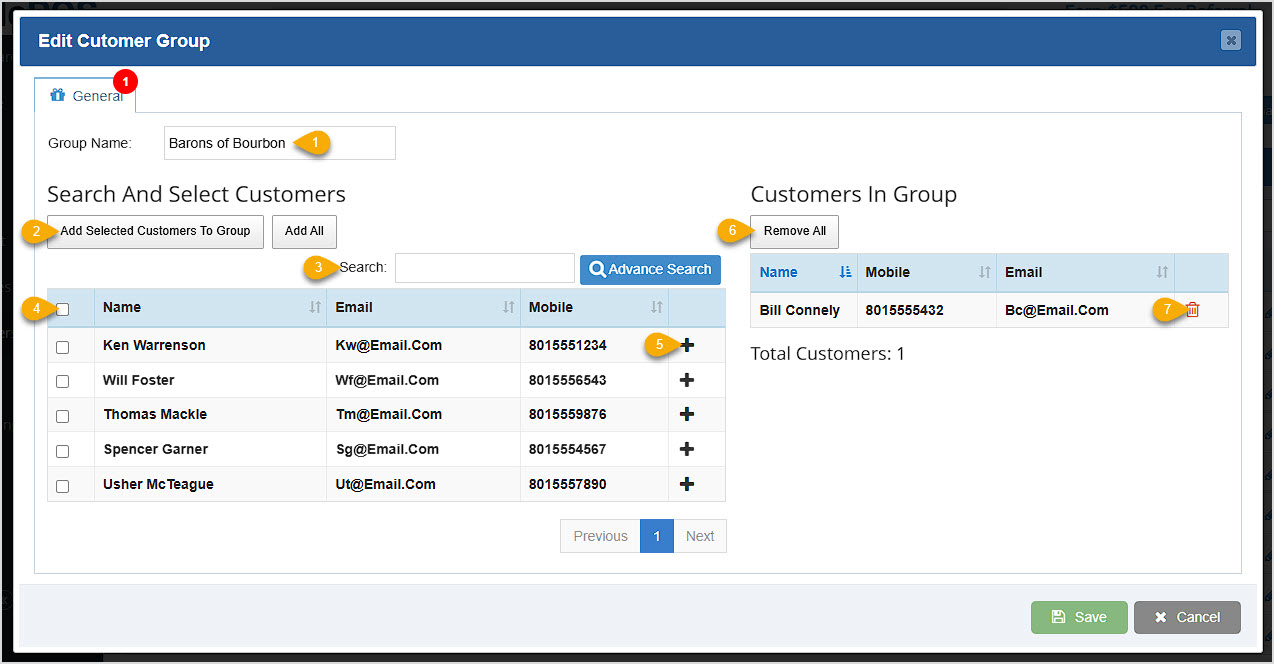
You can click the Add button to create a new Customer Group. When you click to Add a new customer group or to edit one, you'll see the window below, and here is how you can work with your groups:
How to Create and Manage Customers
Q: Do I have to use the Back Office to add a new customer? What if I'm in the Register?
A: You can add new customers from the Register by entering their cell phone number in the Customer Mobile field in the Register, then click to Create New Customer.
Q: I have a question, but I can't find my answer here, how do I get more assistance?
A: You can ask any question at the number below. Contact our 24/7 support team at: (877) 381-4087
Is this page helpful?
×Help us improve our articles