This article will explain how to create and manage your Expenses from the Bottle POS and the Admin. Expenses allow you to create unique payouts to keep track of various business operations such as cash drops or repairs.
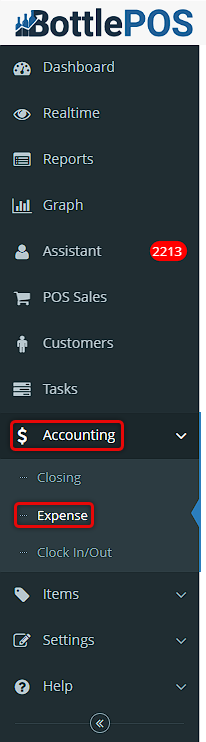
To get started, login to the Admin app. You can get to the Expense section of the Admin by clicking on Accounting, and then Expense. The Expense section is where you can create new expenses and manage existing ones.

There are three main areas you will want to work with for your Expenses: you'll want to define your Expense Types, set up Vendors as they relate to expenses, and you can create Categories for your expenses if you like. The Manage Expense Types, Manage Vendor, and Manage Category buttons in the upper right will let you work in those areas.
- You can use Expense Types to organize your expenses by major areas. This is a higher 'level' of organization than you'll use with Expense Categories and might include things like Operations, Inventory (together with Vendors, below), and Office. Click on the Manage Expense Types button and in the window that opens, you can click the Add button to create new ones, or click the Pencil icon to edit existing ones. If needed, you can click the Trashcan icon to delete any expense types you no longer need.

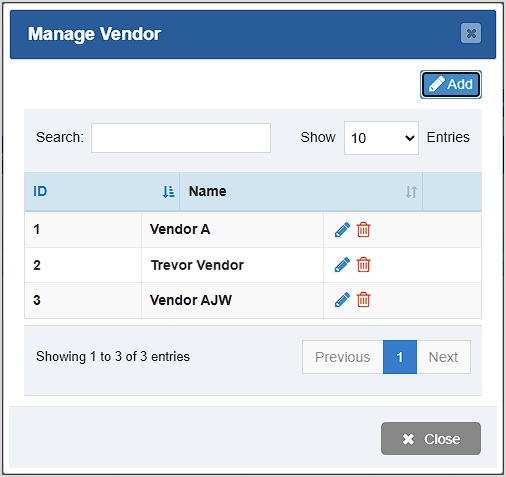
- Vendors are optional and you can add one to an expense if there is a specific vendor associated with the payout. You won't need to use this for your normal inventory suppliers: this area would be for small payouts to local vendors you just pay on the spot. Click the Manage Vendor button to work with your Vendors, the Manage Vendor window will open for you. You can create new ones with the Add button, edit vendors in your list with the Pencil icon, or delete them if needed with the Trashcan icon. An example of a Vendor might be a Boy Scout troop fundraiser selling candy bars you purchase and resell in your store.
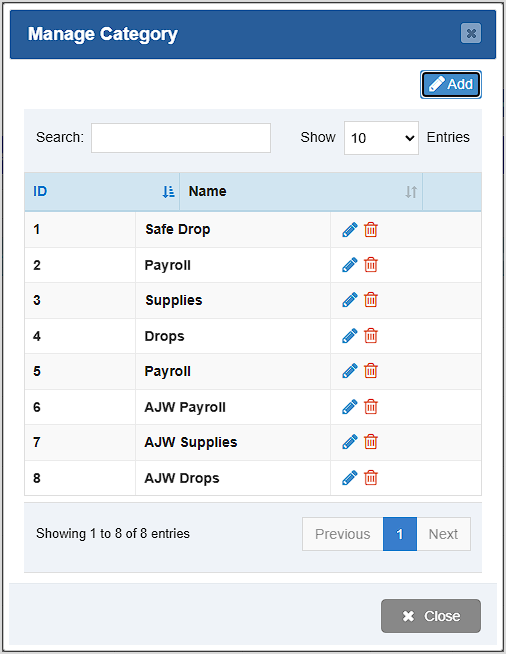
- Categories are an optional level you can use to further organize your expenses. You can use these however you like, but they are more specific than your Expense Types and might include things like petty cash used for an Employee Party, purchases of Supplies, etc. Click the Manage Category button to open the Manage Category window. You can click the Add button to add new Expense Categories, click the Pencil icon to edit a saved category, or click the Trashcan icon to delete a category. You'll be asked to confirm deletion.
Adding Expenses
Once you have set up your expense types, vendors, and categories, click the Add button on the top right of the screen to create a new Expense from the Admin. The Add Expense window will open.
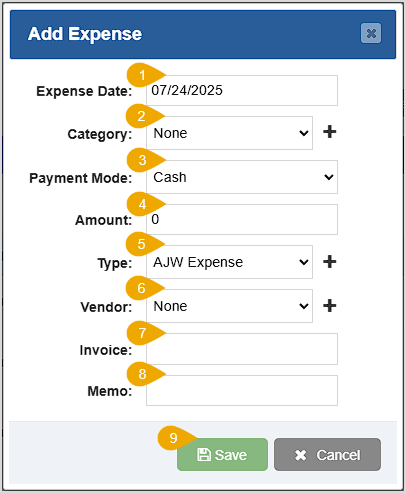
- Expense Date – Enter the date of the expense.
- Category – Select the expense category from the drop-list, if applicable. You can click the Plus icon to create a new Expense Category, if needed.
- Payment Mode – Use this drop-list to select the tender used for the expense.
- Amount – Enter the expense dollar amount in this field.
- Type – Select the expense type from this drop-list, if applicable. You can click the Plus icon to create a new Expense Type, if needed.
- Vendor – Select the vendor associated with the expense from this drop-list, if applicable. You can click the Plus icon to create a new Vendor, if needed.
- Invoice – An optional field where you can enter an invoice number.
- Memo – An optional field where you can enter notes.
- Save – Be sure to click the Save button when you're finished to save the new expense.
Please Note: You can also create an expense directly from the POS by clicking on the Payout button on the Register screen.
Related Topics
Guide to Admin Reports
How to Create and Manage Customers in the Admin
Frequently Asked Questions
Q: Will cash expenses affect my drawer count?
A: Yes, any cash payout you perform will remove that amount from the expected cash in your drawer.
Q: Do expenses show in my reports?
A: Yes, expenses will appear in your reports as a payout of that expense type.
Q: I have a question, but I can't find my answer here, how do I get more assistance?
A: You can ask any question at the number below. Contact our 24/7 support team at: (877) 381-4087
 October 01, 2024
Is this page helpful?
×Help us improve our articles