Managing Timesheet Entries

October 01, 2024
It's common for employees to forget to clock in or out and when that happens you need an easy option to correct their timesheets. Use this article to learn how to make edits to the timesheet entries tracked by your Bottle POS system.
Working With Employee Time Clock Entries
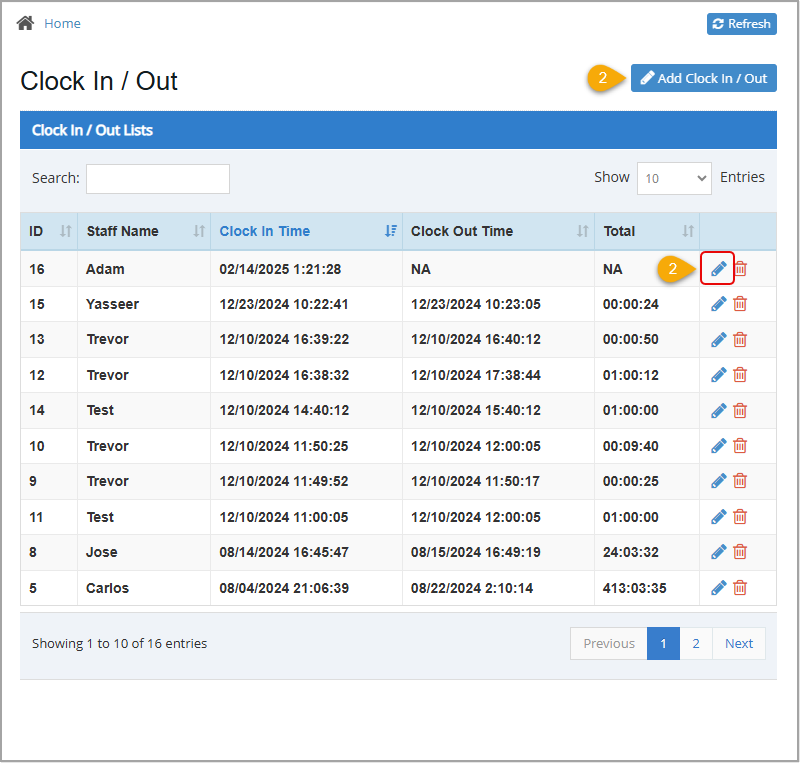
To access the timeclock management system, click Clock In / Out in the Accounting menu of your Admin app. Admin privileges are required to complete the steps in this article.
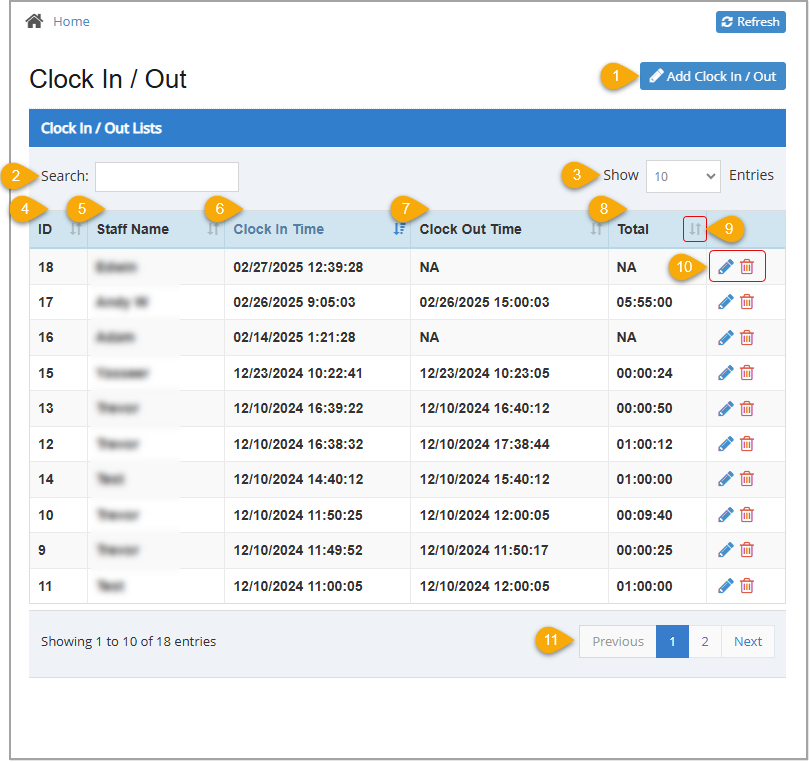
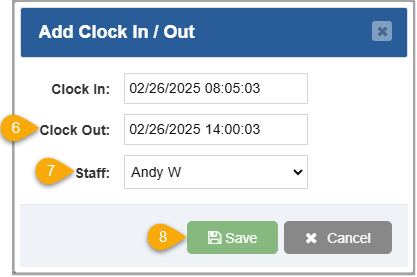
- Add Clock In / Out – Click this button to open the Add Clock In / Out window where you can add a new timeclock entry for an employee. You must have Admin access to complete this task.
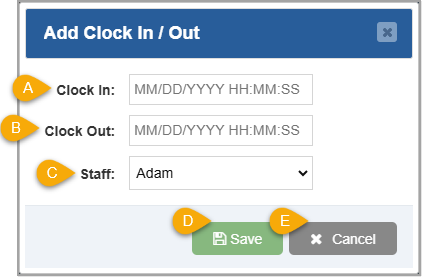
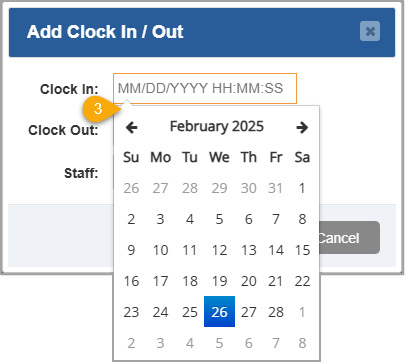
- Clock In – Enter the Clock In Date and Time. You can manually enter these numbers or, as you click into the box, a calendar will open and is followed by two clock (hour and minutes) lists that you can use to select the date and time.
- Clock Out – Enter the Clock Out Date and Time. You can manually enter these numbers or, as you click into the box, a calendar will open and is followed by two clock (hour and minutes) lists that you can use to select the date and time.
- Staff – Select the Staff Member from this drop-list for whom you are creating the entry.
- Save – Click this button to Save your changes for the staff member.
- Cancel – Click this button to Close the window.
- Search – Enter at least the first two letters of an employee's name or a date into this field to filter the results in the data table to matching time clock entries.
- Show Entries – Click and select 10, 25, 50, or 100 to Show that many results per page on your report.
- ID – This column displays the simple ID number the system assigned to each timeclock entry. This is used only for internal purposes.
- Staff Name – This column displays the name of the staff member associated with each time in/out. If a staff name does not exist for a timeclock entry, None displays in the table and will be listed at the top, if you're sorting by Staff Name.
- Clock In Time – This column displays the date and time an employee clocked in. If a clock in time was missed, NA displays in this column and it sorts after the oldest date/time.
- Clock Out Time – This column displays the date and time an employee clocked out. If a clock in time was missed, NA displays in this column and it sorts after the oldest date/time.
- Total – This column displays the duration of each clock in / clock/ out instance. If a clock in or out time was missed, NA displays in the column and sorts above the shortest duration.
- Sort –
 The Sort icon displays in the header row of any sortable column. The currently sorted column displays in blue, as shown on the left. All other sortable columns show this icon in gray, as shown on the right. Click the header of any sortable column to rearrange the table alphabetically or numerically, depending on the information in that column. Click it again to reverse the sort order.
- Action – Use these icons to edit a timeclock entry or delete it from the table.
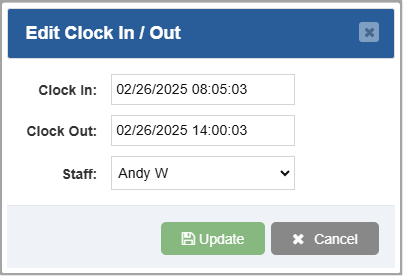
- Click the Pencil Icon
 to open the Edit Clock In / Out window. From there you can change the in / out times or employee name.
- Click the Trashcan Icon
 to remove the timeclock entry from the table. You will be asked to confirm the deletion, click the Yes button in the popup window to complete the removal of the entry.

- Previous / Next – Click Previous, Next, or a Page Number to navigate to another page of results.
Adding Or Editing a Timeclock Entry
- In the Admin app, go to Accounting > Clock In/Out. The Clock In / Out page will load.
- Click the Add Clock In / Out button to add an entry or click the Pencil Icon next to an entry you want to edit. The Add Clock In / Out window or Edit Clock In / Out window will open.
The remaining steps are the same whether you are adding or editing an entry but the images show the Add Clock In / Out window.
- Click in the Clock In field and select the clock-in date from the calendar. The calendar will change to hour selection.
- Select the hour the employee clocked in. The hour selection will change to minutes.
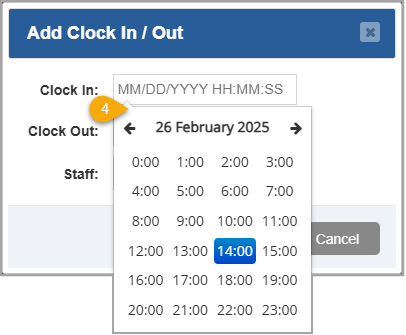
- Select the minutes after the hour when the employee clocked in. The time selection window will close and you'll see your selections in the Clock In field.
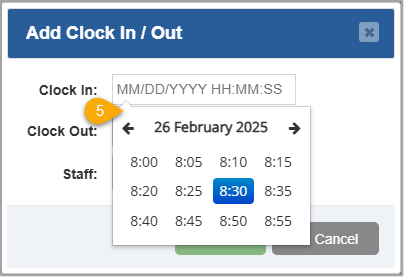
- Repeat steps 3 through 5 in the Clock Out field. Both a clock in and clock out time are required when adding a timeclock entry for an employee.
- Select the staff member you are adding a timecard entry for in the Staff drop-list.
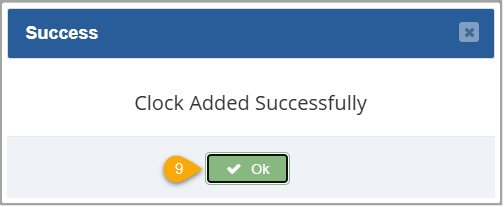
- Click the Save button. A confirmation message will pop up.
- Click OK to confirm the new timeclock entry.
Related Topics
How to Clock In & Out
How to Create and Manage Customers in the Admin
Payroll Report
Frequently Asked Questions
Q: How can our staff members clock in through the POS?
A: You can clock in through the register by clicking Clock In/Out in the upper right of the screen. For more information on how to use the timesheet features from the Register, review the How to Clock In & Out article linked above.
Q: I have a question, but I can't find my answer here, how do I get more assistance?
A: You can ask any question at the number below. Contact our 24/7 support team at: (877) 381-4087
Use this article to learn how to view and manage the drawer count information for a previously close
This article will explain how to create and manage your Expenses from the Bottle POS and the Admin.
Your Admin Dashboard is your hub for keeping your finger on the pulse of your business. Take a look
Is this page helpful?
×Help us improve our articles
Comments