Getting Started with Your POS
Welcome to Bottle POS! This article covers some things you'll need to configure in the Admin before
 October 01, 2024
The Castle S1F2 terminal (sometimes branded as the Adyen S1F2) is a wireless android-based countertop terminal for use with Bottle POS Payments. This state-of-the-art card reader accepts chip, contactless NFC, or swipe card reads and the internal thermal receipt printer makes completing transactions easier than ever.
Our credit card readers are plug-and-play. It takes only minutes to connect it to your Wi-Fi network, enter the pairing code, and start taking payments.
The Adyen S1F2 device is low-maintenance and requires no additional upkeep. Updates are automatic using the Wi-Fi network giving you no interruptions and no hassle.
To view the terminal's parts and features, see the S1F2 product sheet.

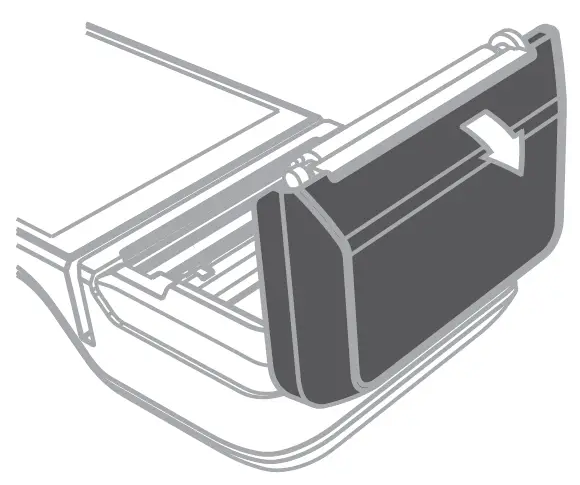
Please Note: If the paper prints blank swap the direction of the paper.
The S1F2 should arrive partially powered. Use the supplied wall charger to fully charge it before using it the first time. Expect this to take at least 30 minutes.
The first time you turn on the S1F2, or after it has been off for a long time, it may need to check for updates. This can take 10 to 20 minutes. While the terminal is updating, the screen may flash or appear to turn off. Once the update is done, the screen should turn on.
Use the table below to try the basic usage tasks with the device:
|
Task |
Instruction |
|
Turn On |
Press and hold the power button until the screen turns on. If necessary, connect the terminal to a power supply to charge the battery. |
|
Sleep / Wake |
Once the device is powered on, press the power button once to sleep / wake the device. |
|
Turn Off |
Press and hold the power button until a dialog box appears, then confirm you want to turn off the terminal. |
Pro Tip: The terminal should be powered off each evening and powered on each morning to receive automatic software updates.
The S1F2 must be connected to the internet before it can be paired or updated. For best performance, connect it to the same network as the point-of-sale device.
The terminal must be connected to the internet before it can be paired or updated. For best performance, it should be connected to the same network as the point-of-sale computer.
The Wi-Fi network must use WPA-Personal or WPA2-Personal encryption and be password protected. Wi-Fi is not supported for non-password-protected networks or enterprise networks.
Once the device is powered on and connected to Wi-Fi, it will ask you to select a store. It should appear with your address but if it doesn't, this step can be skipped until after you pair the terminal (below).
If the correct details do appear, tap ![]() (the blue arrow button) to continue.
(the blue arrow button) to continue.
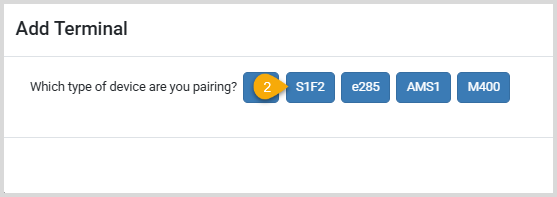
To pair the device with the terminal, log into the Payment Portal and go to Account > Profile in the top-right corner.


The S1F2 has a Setting page that can be accessed by clicking on the Gear icon at the bottom-left of the screen. Once you click on any of the settings, it will ask for the PIN. The PIN is: 3191.
Q: Where can I find more information about the S1F2 terminal?
A: To view the terminal's parts and features, see the Castle S1F1 product sheet.
Q: Where can I find my serial number?
A: View this FAQ page for instructions to find your S1F2 terminal serial number.
Q: I have a question, but I can't find my answer here, how do I get more assistance?
A: You can ask any question at the number below. Contact our 24/7 support team at: (877) 381-4087
Is this page helpful?
×Help us improve our articles