Learn the setup required to accept sales tax through your Bottle POS system for your business. You'll need this ready to go before you start running transactions and so you'll have accurate reports concerning your sales tax.

To get started, login to your Admin and go to Accounting Settings under the Settings menu.
Setting Up Sales Tax For Your Business
Your Bottle POS software can support as many tax rates as your business needs. For each tax rate that you'd like to see or need to report separately, you will need to set up a tax item respectively, such as:
- Single Tax Examples - Tax Item 1 (General Sales Tax): 7%, Tax Item 2 (Liquor Sales Tax): 9%, etc.
- Multi-Tax Example - Tax Item 1 (City Sales Tax): 3%, Tax Item 2 (State Sales Tax): 4%, etc.
Create Your Tax Items
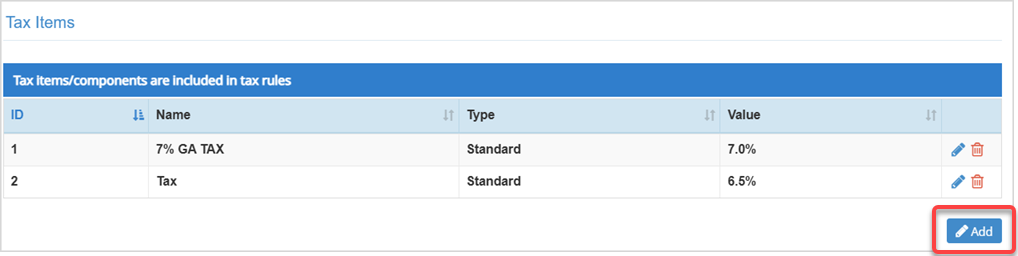
Tax Items are the rates and names of your individual taxes. To create your first Tax Item, click the Add button under the Tax Items data table. The Add Tax Item window will open for you.
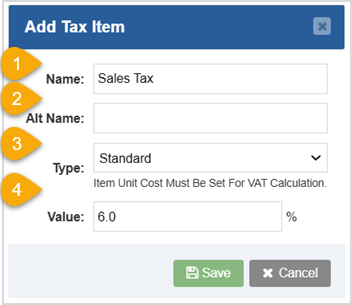
- Name - Enter the Tax Item's Name. This name you enter into this field will appear on your receipts.
- Alt Name - If you desire an internal name for this Tax Item that doesn't appear on receipts, provide an Alt Name. For example: Standard Tax.
- Type - Click this drop-list to select either Standard or VAT (Value-Added Tax) tax Type.
- Value - Enter the Value for the Tax Item. For example: 7%.
- Repeat this process as many times as needed.
- Remember to add a Non Tax with a 0% value if you have any tax-exempt or EBT items.
- Click Save to finalize your new Tax Item.
Create Your Tax Rules
Now that all of your Tax Items have been setup, it is time to set up Tax Rules to control how those Tax Items are applied to your Inventory Items.
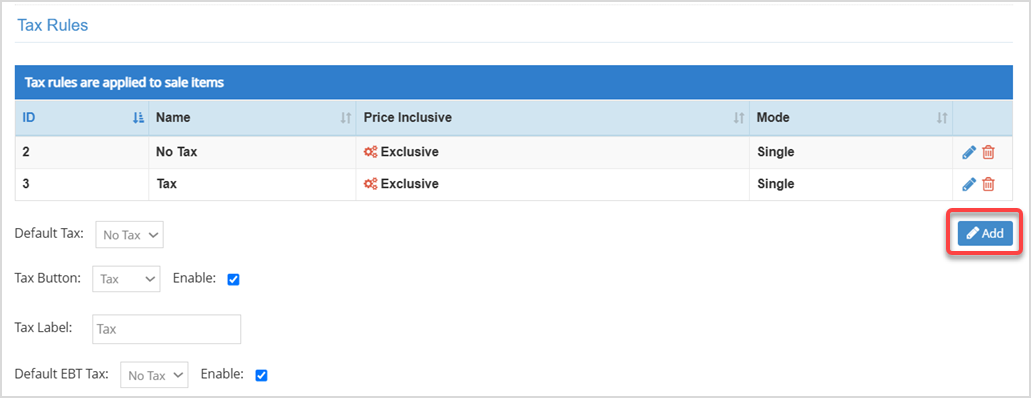
Click the Add button under the Tax Rules data table to begin creating your first Tax Rule. The Add Tax Rule window will open for you.
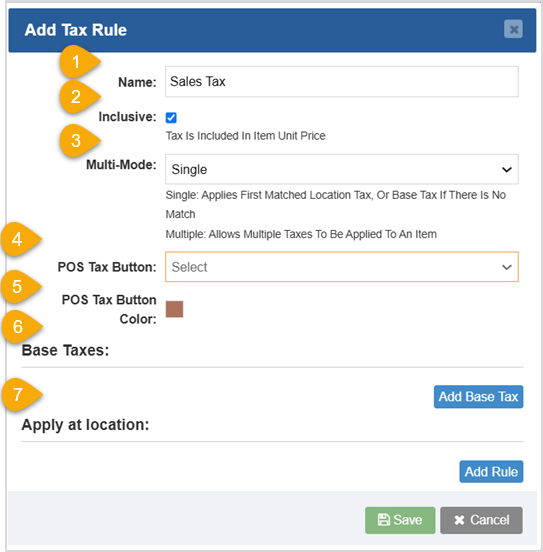
- Name - Enter the Tax Rule's Name into this field.
- Inclusive - Configure Tax Inclusivity:
- If you want the tax to be included in the price of your items, check this box.
- If you want the tax amount to be in addition to the price of your items, Uncheck this box.
- Multi-Mode - Select the Tax Rule Mode:
- Single Mode: Use this mode to apply a single Tax Item to inventory items.
- Multi Mode: Use this mode to apply multiple Tax Items to inventory items.
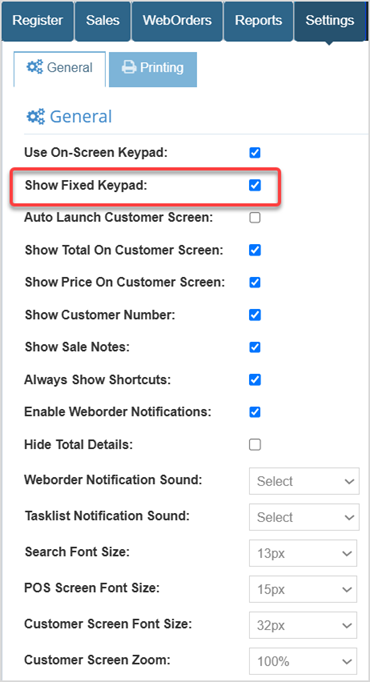
- POS Tax Button - This function applies the selected Tax Rule as a button on the Register's fixed keypad. The keypad lets you enter a number and click the tax button to apply a manual item with that price and tax to the POS. This only applies if you enable the Show Fixed Keypad setting in the Register app > General Settings.
- POS Tax Button Color - Click this color swatch to change the color of the button.
- Base Taxes - Click the Add Base Tax button and select the Tax Item(s) that will be applied when this Tax Rule is used. You'll see the Tax Items you added in the drop-list. For multi-mode rules, you can add as many Tax Items as needed.
- Apply at Location - Select Add Rule to add a Tax Rule to a specific inventory location in your POS, if needed.
Click the Save button to finalize your Tax Rule.
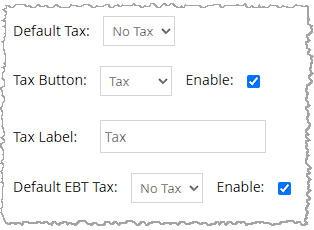
- Default Tax - Select the Tax Rule in the drop-list that you want to be the Default Tax Rule for new items as well as manual items added with the Add Item button in the Register.
- Tax Button - Checking the Enable box will put the selected Button in the Register that when pressed, applies the tax to the sale.
- Tax Label - Enter text that you want to display on the button in the Register.
- Default EBT Tax - If your store accepts EBT, you can choose the Tax Rule that applies and check the box to enable it for EBT items.
Related Topics
Accounting Settings
How to Disable Tax for a Customer or Business
Frequently Asked Questions
Q: How do I find out what the sales tax rate is for my local area?
A: We recommend you contact your accountant to verify the correct sales tax for your business. Your City Hall or Chamber of Commerce are also good resources. Make sure to ask if your area has separate taxes for specific types of goods (liquor, grocery, tobacco, etc.).
Q: I have a sales tax category for a type of item that isn't taxable, what should I do?
A: Follow the same steps in the article above, but set the tax rate to 0%.
Q: I have a question, but I can't find my answer here, how do I get more assistance?
A: You can ask any question at the number below. Contact our 24/7 support team at: (877) 381-4087
 October 01, 2024
Is this page helpful?
×Help us improve our articles