Manage Your Stock Inventory Levels

October 01, 2024
The makes managing your inventory stock levels simple and straightforward. Take a look at how easy it is!
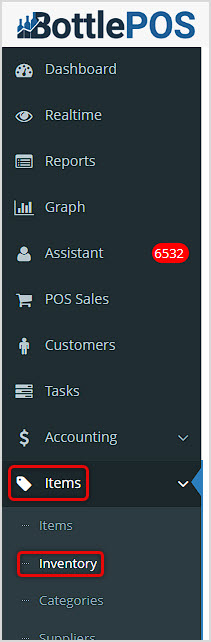
You can get to this part of the system by logging into your Admin app and clicking Items on the left. Near the top of the menu that opens, click on Inventory.
Working with Your Inventory Page
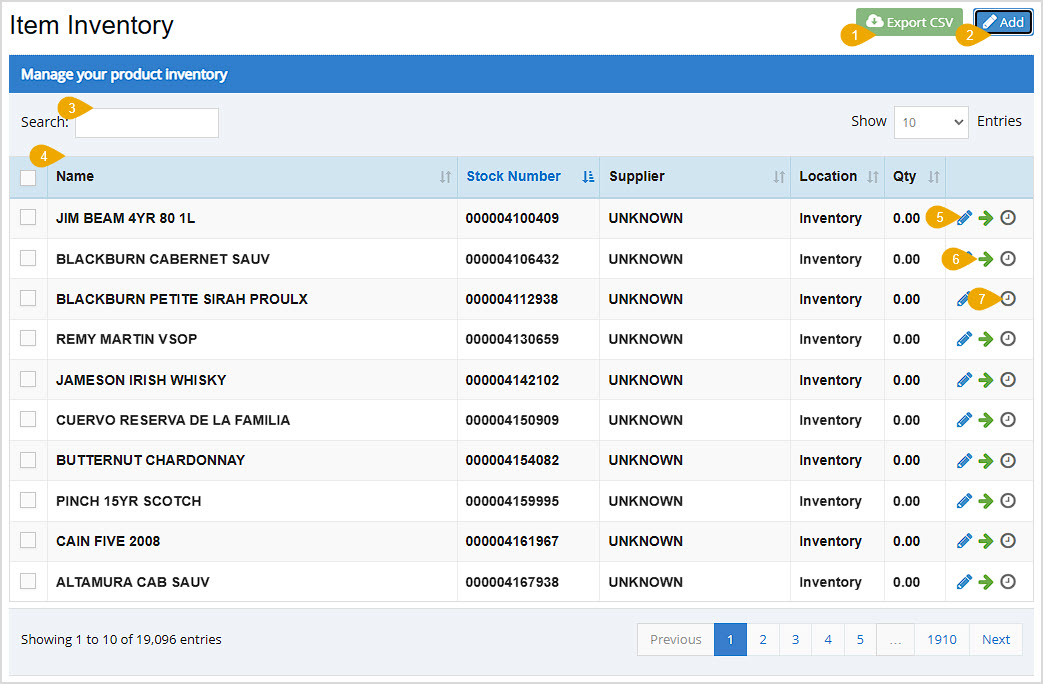
Your Inventory page lists all inventory Items saved in the database. Features of this page allow you to add to or change stock quantities for your items. Each time you or someone on your staff makes such a change, it will be logged in the Modification Report for you along with important event details. Here are the page features:
- Export CSV - You can click this button to download a spreadsheet file of all inventory items in your database. You can also select items using the checkboxes on the left and download a spreadsheet of only those items.
- Add - Click the Add button to add to the inventory quantity of items for which you can search. Start by scanning in the Stockcode or entering the Name of the item:
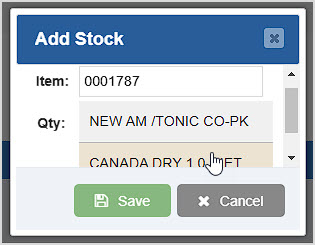
In the drop-list, click on the Item you want, then enter the Quantity you want to add to the item and click Save. You'll see the updated Quantity for the item after you save.

- Search - In this field you can Search by item Name and Stockcode and the data table will filter down to whatever keywords or matching stockcodes you have entered.
- Item Data Table - The column by which the table is currently sorted will have its header colored blue for you. You can Sort the table relative to any column by clicking on the column header, or click again to reverse-sort. The table on the Items page has the following columns: Checkboxes (use these with the Export CSV to download data for selected products), Name, Stock Number, Supplier, Location, Quantity, and Tools (the tools include Edit Quantity, Transfer, and History, and each is explained in more detail below).
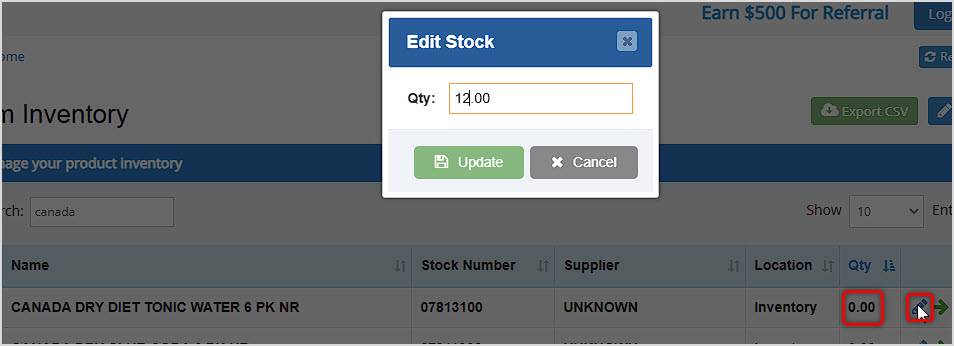
- Pencil Icon - Click this icon to Edit Quantity of the Item. In the Edit Stock window that pops up, enter the Quantity you want to set for the product. Unlike the Add button described above, this one changes whatever Quantity is saved for the product to whatever amount you enter. Click the Update button to save the new inventory Quantity for the item. You'll see that update on the page right away.
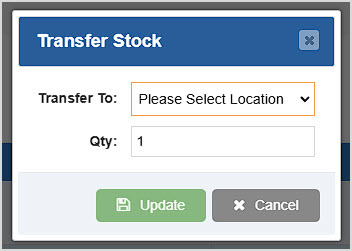
- Arrow Icon - Click this icon to Transfer the Item to a different Store, if you have multiple Stores. You can't transfer more inventory than exists at the source Store.
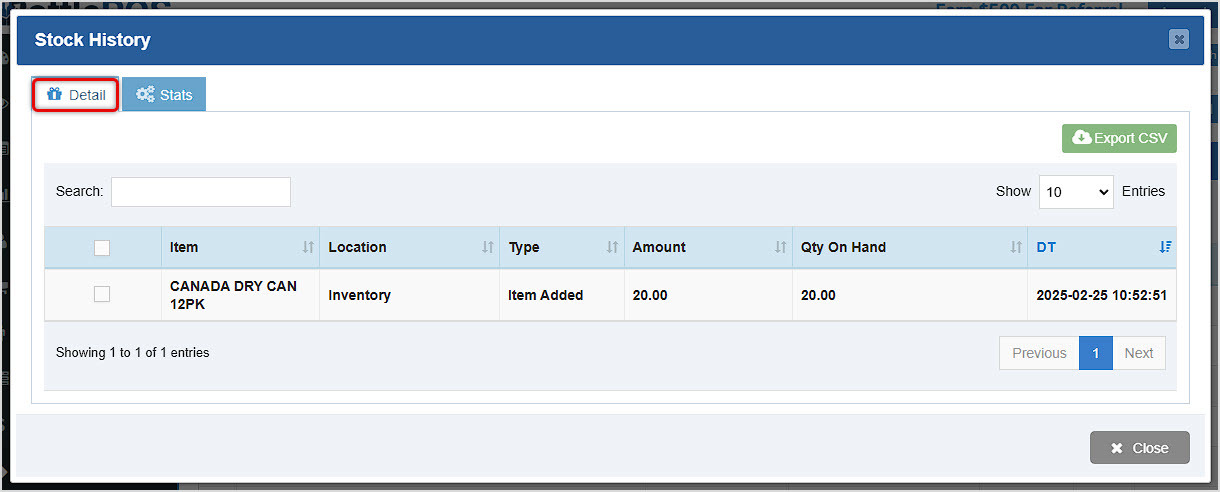
- Clock Icon - Click this icon to open the item's Stock History window. The Detail tab will load for you. You can Search for history events by keyword, Amount, Quantity on Hand, or Date & Time. In the data table you can see the Item name, Location, the event Type with details about what happened, the Amount involved, the resulting Quantity on Hand, and the Date & Time it happened. You can click the Export CSV button to download a CSV spreadsheet file of all inventory events for the item, or you can use the checkboxes on the left and download only those you choose.
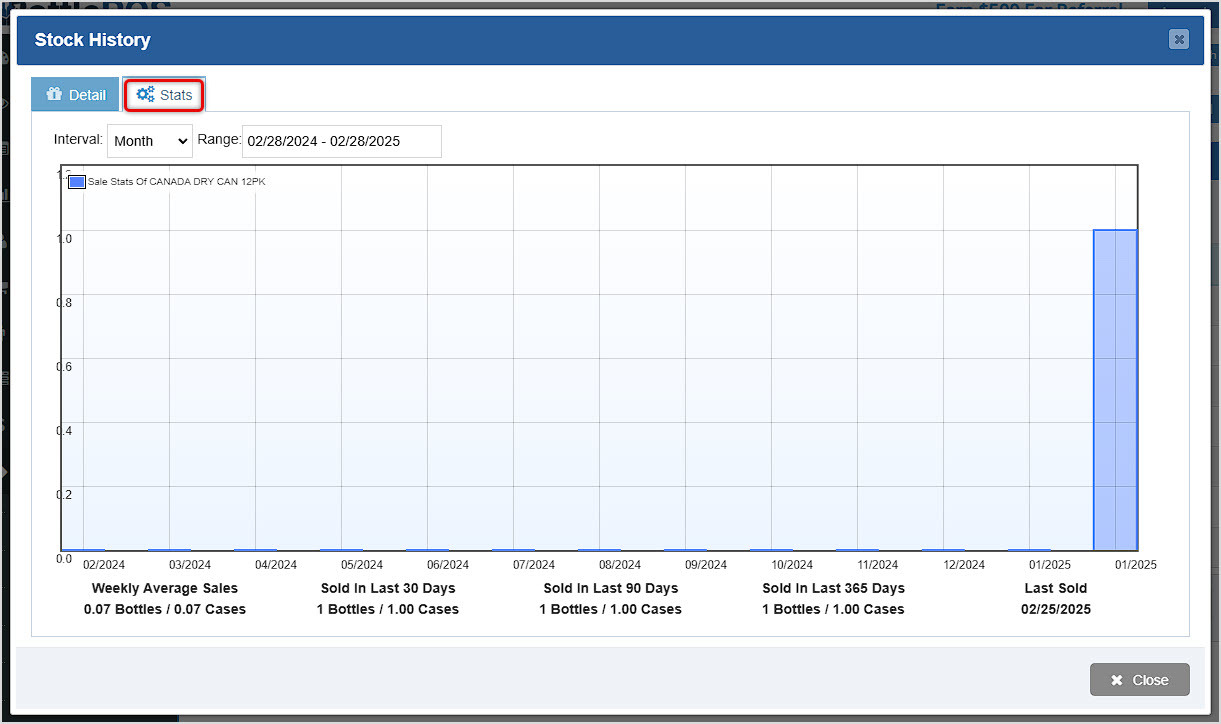
On the Stats tab, you can view sales volume over time for the item. A relatively new item might look like the one below. You can adjust the Interval and date Range used in the chart, and you can see useful statistics at the bottom.
Related Topics
Manage Items Page
Inventory Bulk Updater
Modification Report
Frequently Asked Questions
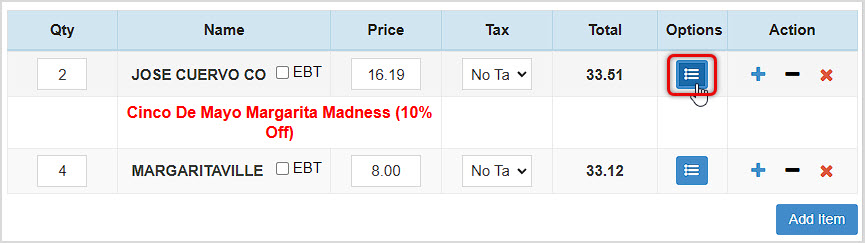
Q: Can I update stock quantities from the Register?
A: Yes. After you load the item into the Register, click its Options button to open the Edit Item window and you can adjust the Quantity On Hand, then click Update to save the change. The POS will pop up a confirmation that the item was updated.
Q: I have a question, but I can't find my answer here, how do I get more assistance?
A: You can ask any question at the number below. Contact our 24/7 support team at: (877) 381-4087
You can work with your Items in powerful and flexible ways using the main Items page in your Admin.
Keeping track of inventory and stock levels is an important part of any business. Your has all of th
You can create non-inventory items of several types in the as needed. Take a look at how easy it is!
Is this page helpful?
×Help us improve our articles