Your Admin allows you a wealth of options in how you configure your system to work for you. Take a look at what you can do!
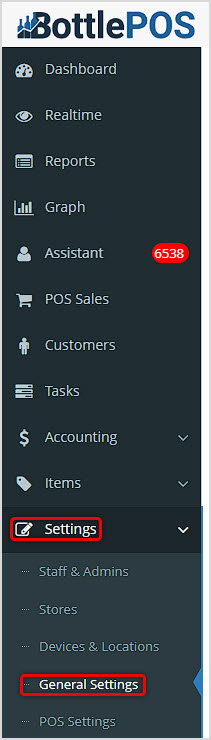
You can get to this part of the system by logging into your Admin app and clicking Settings on the left. In the menu that opens, click on General Settings.
Working With Your General Settings
Your General Settings area contains many of your primary setting options. In this article we'll explore what is there for you. For all areas, remember to scroll to the bottom and click the Save button to finalize any changes you make.
Formats
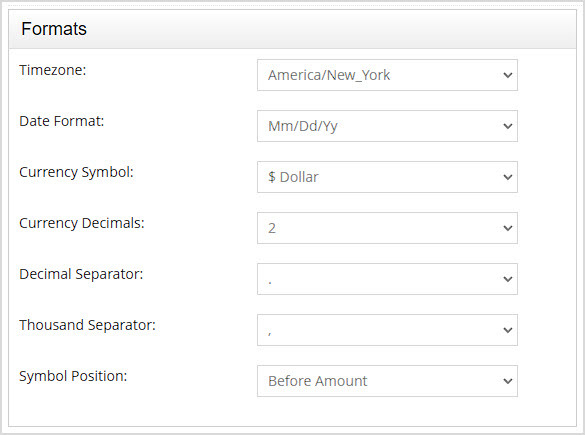
The Formats area is at the top of the left column on the General Settings page. In the Formats area you can configure the following settings:
- Timezone – Find and click on your timezone in the full list of all world zones if it has not already been set.
- Date Format – Your date format will default to MM/DD/YY. If you want to use a different one, you can choose from DD/MM/YY or YYYY/MM/DD.
- Currency Symbol – If you use a different currency than the Dollar, you can change to what you need here. If you are in Canada, the system will automatically do what is needed in the background to work with Canadian dollars.
- Currency Decimals – The default for the number of digits after the decimal point in currency amounts is 2, but if you prefer, you can choose 0 or 3.
- Decimal Separator – The default Decimal Separator is the period, but you can use the comma if you prefer.
- Thousand Separator – The default Thousand Separator is the comma, but you can use the period or no separator if you prefer.
- Symbol Position – The default for the currency Symbol Position is to appear Before the Amount, but you can have it appear After the Amount if you like.
Alternate Labels
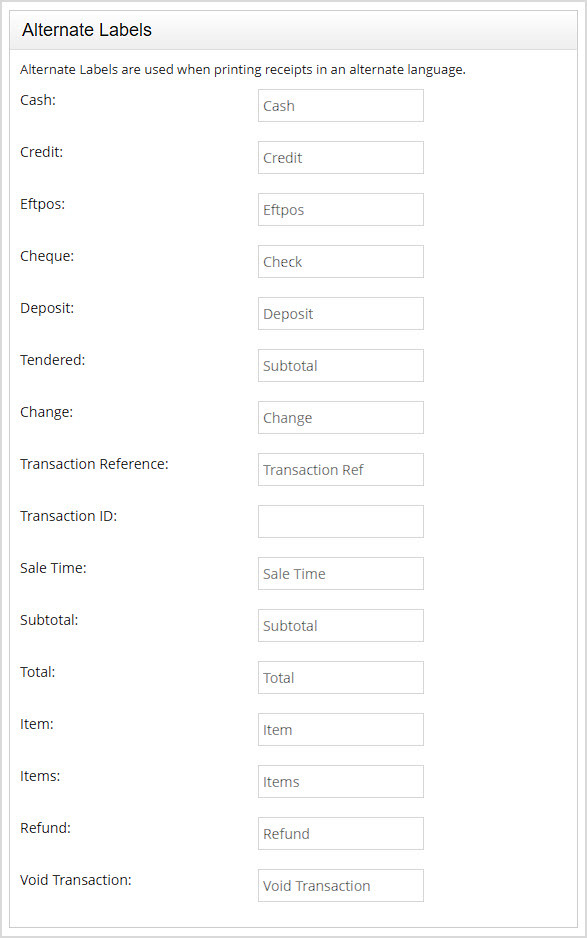
The Alternate Labels area is second from the top of the left column on the General Settings page. Alternate Labels are used when printing receipts in an alternate language, so the terms are all words used on your receipts. For example, if you need to print a receipt for a Cash purchase in Spanish, you could use the word Dinero in that field.
Here are the Labels you can configure listed for both Spanish and French*:
|
Label in English
|
Spanish
|
French
|
|
Cash
|
Dinero
|
Espèces
|
|
Credit
|
Crédito
|
Crédit
|
|
Eftpos
|
Pago Restante
|
Paiement à L'avance
|
|
Cheque
|
Cheque
|
Chèque
|
|
Deposit
|
DepĂłsito
|
Dépôt
|
|
Tendered
|
Pagado
|
Monnaie Offerte
|
|
Change
|
Cambio
|
Changement
|
|
Transaction Reference
|
Referencia de Transacción
|
Transaction de Référence
|
|
Transaction ID
|
ID de Transaccion
|
Transaction d'Identification
|
|
Sale Time
|
Tiempo de Compra
|
Temps d'Achat
|
|
Subtotal
|
Total Parcial
|
Sous-Total
|
|
Total
|
Total
|
Total
|
|
Item
|
ArtĂculo
|
Article
|
|
Items
|
Elementos
|
Articles
|
|
Refund
|
Reembolso
|
Remboursement
|
|
Void Transaction
|
Transacción Nula
|
Annuler la Transaction
|
*All translations provided by Google Translate
Credit Card
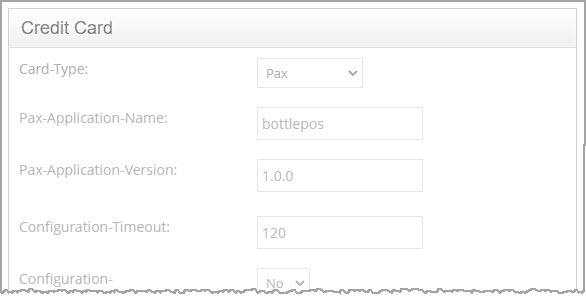
The Credit Card area is down the page in the middle of the left column on the General Settings page. This area is grayed out because the Bottle POS team will configure it for you if you are using Bottle POS Payments integrated card processing. There is nothing you need to configure in this area.
Inventory Settings
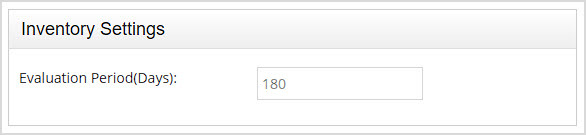
The Inventory Settings area is near the bottom of the left column on the General Settings page. In this area you can enter the number of days for the Evaluation Period (in Days) you want the system to use for determining your item Ranks and number of days supply. Item Ranks range from A through D, with A being the best performing inventory you have.
Loyalty Settings
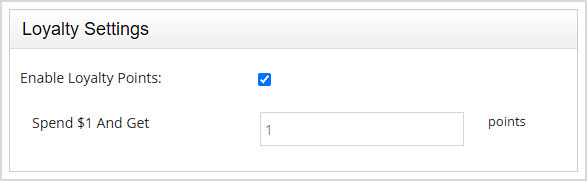
The Loyalty Settings area is at the bottom of the left column on the General Settings page. You can check the box to Enable Loyalty Points if you want to use the Bottle POS Loyalty program in your POS. If you do so, enter the number of Loyalty Points your customers will earn per dollar in the Spend $1 And Get X Points field.
Business Details

The Business Details area is at the top of the right column on the General Settings page. In the this area you can configure the following settings:
- Business Name – Enter the name you want the system to use for your company.
- Business Number – Enter your business phone number.
- Customer Number – Your Customer Service Manager will have entered your Customer Number for Bottle POS here already. You may need to use this as reference if you contact our support team.
- Admin / Info Email – Enter the main email address for your business.
- Address / Address 2 – Enter the street address of your store here. If you have a Unit Number, Suite number, or similar location you can enter it in the Address 2 line.
- State – Enter the State where you do business.
- Postcode – Enter your ZIP Code if you're in the U.S. or your Postal Code if you're in another country.
- Country – Enter the name of your country as you would like it to appear within the system.
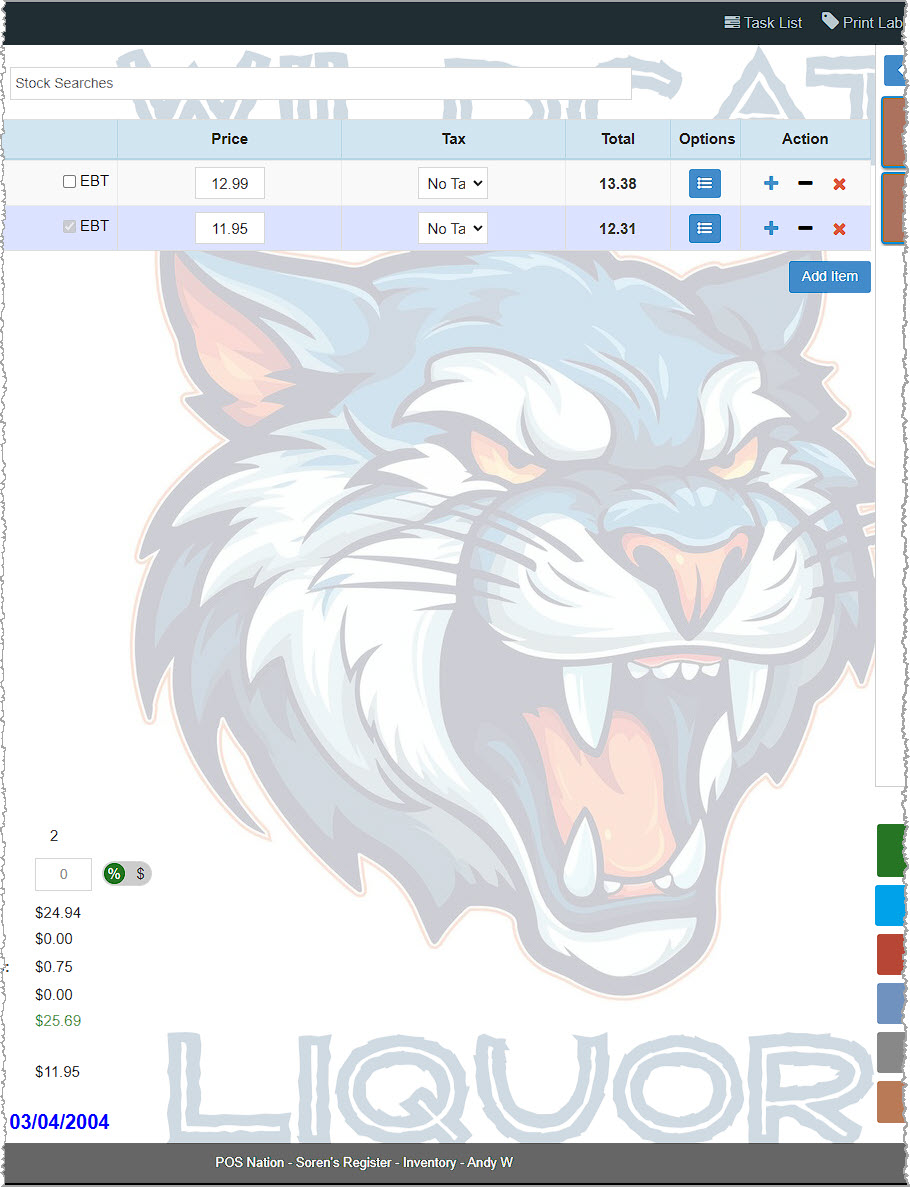
- Business Logo – You can upload your logo file here. The logo will be used within the POS Register screen and will display faded in the center of the background, as in this example:
- App Icon – This is set already by default for you and is not something you can adjust at this time.
SMS
SMS is Short Message Service mobile text messaging protocol.

The SMS area is near the top of the right column on the General Settings page. If you want your Bottle POS to be able to message your customers via SMS you will first need to create an account with the online messaging service, Twilio. Click here for full instructions on that process (this link will let you download a PDF in a new window that will walk you through the process).
At the end of that process, you will configure the area above to enable your SMS text messaging within the system.
Email
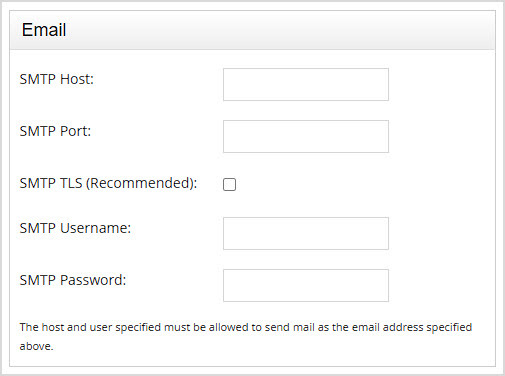
The Email area is down the page in the middle of the right column on the General Settings page. The Bottle POS allows you to email invoices and receipts to customers. These settings are auto-configured for you and are hidden by default. There is no need to modify these settings.
Automation Settings
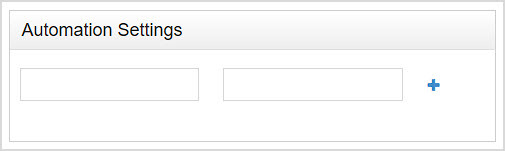
The Automation Settings area is down the page in the middle of the right column on the General Settings page. These settings are used by the support team to configure specific features and settings in the software such as Google Pointy integration. These fields only accept specific words and codes so please consult the support team before modifying settings here.
Default Time for Reports
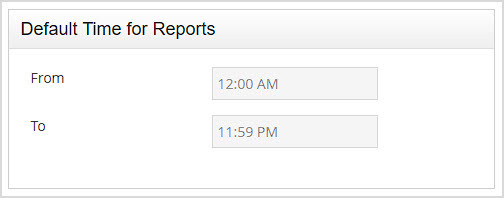
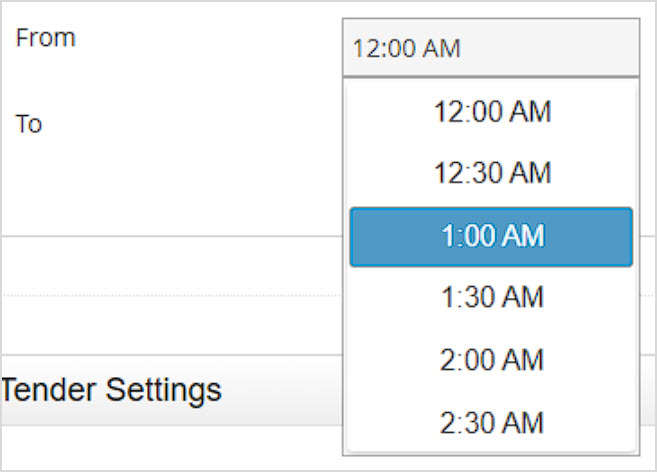
The Default Time for Reports area is down the page in the middle of the right column on the General Settings page. By default, the From and To time range your reports will cover is the 24 hours from 12:00am to 11:59pm through the end of that last minute. If you need a different time range, you can enter the times you like in the respective fields. You can choose times at the top of each hour or half-past the hour, as pictured below.
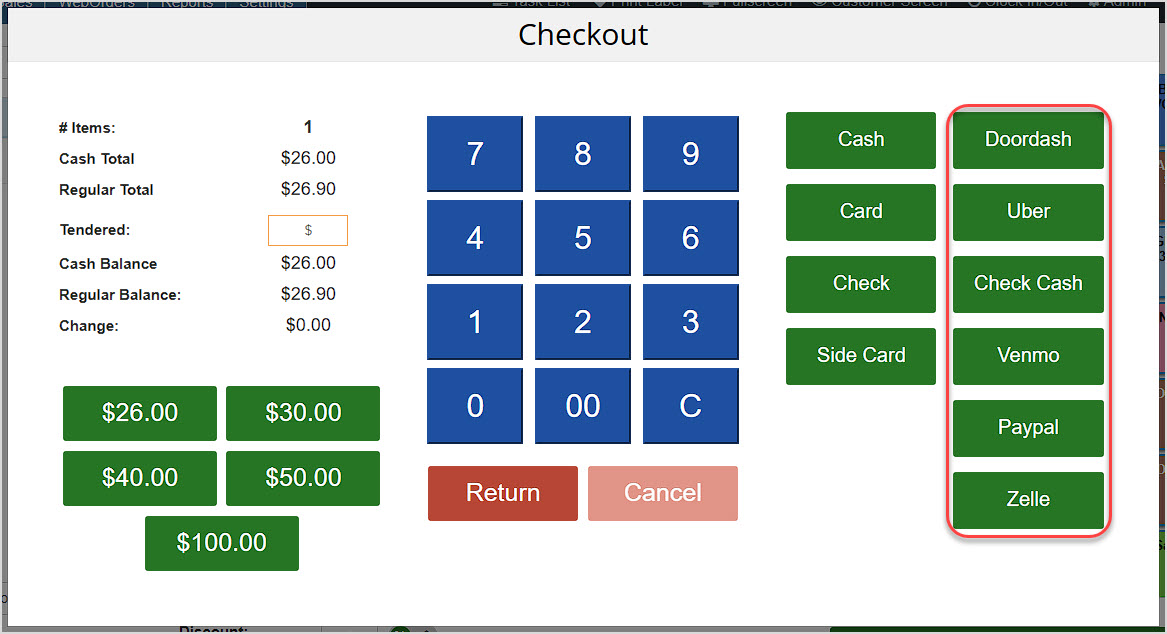
Tender Settings
The Tender Settings area is the second from the bottom on the right side of the General Settings page. You can create Tender types here for use in the Bottle POS Register of whatever type you need.
Please Note: The POS will not receive orders automatically from integrated third-party services, so you will collect payment from services such as Venmo, PayPal, Zelle, Doordash, etc. as a separate process and then use the Tender type for that service in the Register to complete the transaction.
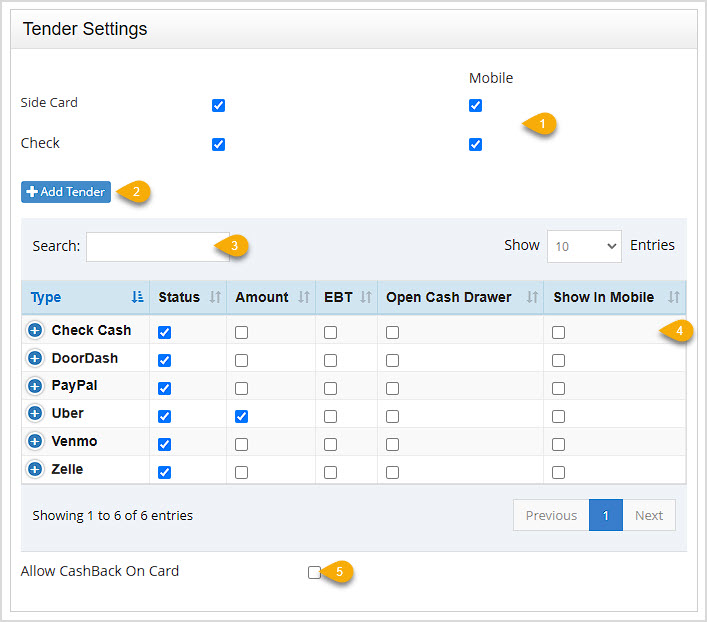
- Side Card and Check – The Side Card is what you use for non-integrated card processing. Personal Check payment will NOT electronically confirm the account has funds for the transaction and will not integrate with an external check scanner device. Checking the Status box for each will enable that Tender type in your Register. Checking the Mobile box will allow that Tender option on the Mobile app that is used for the PAX A920 Pro (a card processing terminal capable of running mobile transactions). Checking the Mobile boxes is not relevant if you are not using that device.
- +Add Tender – Click this button to enter the name of any Custom Tender you will need for your store or online.
Please Note: This will just create a button with the name you enter and will not integrate with third-party services, so you will need to collect funds separately before completing transactions for such services as Venmo, Zelle, PayPal, etc.

- Search – If you have a large number of Tender types, you can use this Search to go straight to the one you want.
- Tender Line Items – You can click the column headers to Sort or click again to Reverse Sort as needed. Here are the column details for the data table:
- Each item has a + button to expand and offer Actions for the Tender type. If you click the Action, you can remove the tender type, and you will be prompted to confirm you wish to do so.
- Each line item in this table will display the Type name of the Tender.
- If Status is checked it will be available in the Register.
- If Amount is checked the system will require the cashier to enter an amount into the Tendered field before pressing the button for the Tender (a popup will prompt the cashier if they haven't yet entered an amount). If this is unchecked, when clicking the button for the Tender, the full amount due will automatically be tendered.
- If EBT is checked, whatever amount is EBT eligible in the EBT Total will be charged when that Tender button is used, and the remainder will need to be paid a different way.
- If the use of the Tender will need it, check the box to Open Cash Drawer whenever it's used in the Register.
- If Show in Mobile is checked, the payment type will be offered on the Mobile App for the PAX A920 Pro (a card processing terminal capable of running mobile transactions). Checking the Mobile boxes is not relevant if you are not using that device.
- Allow CashBack on Card – Checking this box will give your customers the ability to add Cash Back on card transactions in your processing terminal.
Once you've finished configuring your Tender types, scroll to the bottom and click Save and your changes will appear in the Register in the Checkout window when completing transactions.
Other Settings
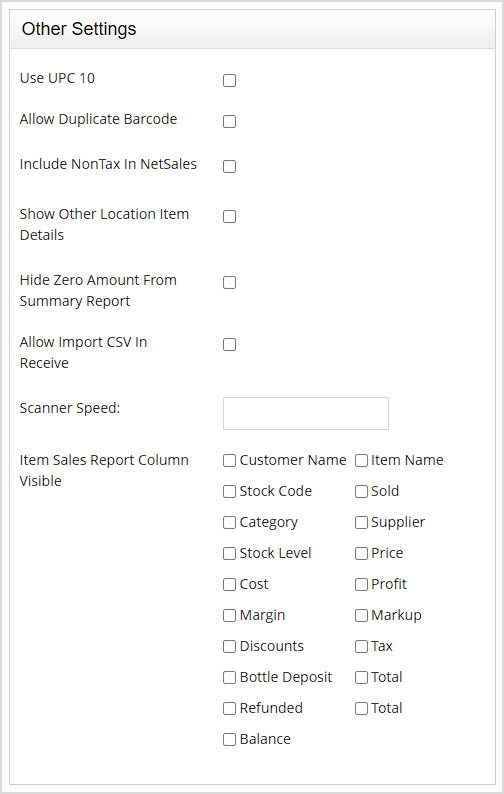
The Other Settings area is at the bottom of the right column on the General Settings page. In this area you can configure the following settings:
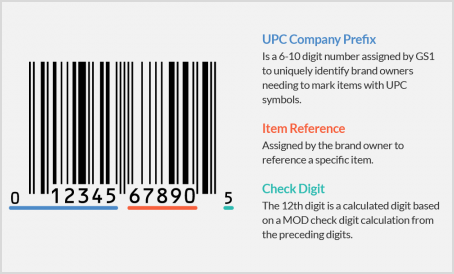
- Use UPC 10 – This setting auto-converts all UPCs scanned into the system to the 10-digit UPC-A format. This setting is on by default as the Bottle POS and many of its features are designed to work best with 10-digit barcodes. Turning this setting off after your items have been added to the system with the 10-digit UPC format will cause your items to not be recognized anymore when scanning them into the system. You can see an example of UPC-A below:
- Allow Duplicate Barcode – If you need some items to have the same barcode even though they are different products, you can check the box to Allow Duplicate Barcode. When you scan the barcode into the POS, all products using the code will display in a list and you can click the one you want to load it into whatever area you're using.
- Include Non-Tax in Net Sales – You can check the box to Include Non-Tax in Net Sales if your accounting methods require you do so. If you are unsure, ask your accountant how this should be configured.
- Show Other Location Item Details – If you check the box to Show Other Location Item Details and if you have the setting to Show Item Details on within the store's settings you'll be able to see items in other stores. This happens in areas of the system like the main Items page where you are viewing Items you will also see details for items in other stores.
- Hide Zero Amounts from Summary Report – If you don't need to see items that have no data in your Summary report, you can check the box to Hide Zero Amounts From Summary Report and only items with positive values will display.
- Allow Import CSV in Receive – This will allow the Import CSV button to display in the Receive section, but we recommend strongly against this. This feature is hidden by default and is not guaranteed to work and is not something our support team can troubleshoot. If you still wish to give it a try you can check the box to Allow Import CSV in Receive.
- Scanner Speed – This area is used to troubleshoot a very specific issue and should only be adjusted by the support team.
- Item Sales Report Column Visible – You can set which columns are present in your Sales Report in the Item Sales view in the Admin Reports area by checking the boxes you prefer. Leaving them blank will allow the default columns to display in that report. You can also configure the columns from within the report by clicking the Column Visibility button and toggling the buttons for the columns you want in the drop-list, as pictured here.

Related Topics
POS Settings
Tender Types
Register Printing Settings
How to Enable and Use Customer Loyalty
Frequently Asked Questions
Q: I have a question, but I can't find my answer here, how do I get more assistance?
A: You can ask any question at the number below. Contact our 24/7 support team at: (877) 381-4087
 October 01, 2024
Is this page helpful?
×Help us improve our articles