Learn how to configure bottle deposits in your Bottle POS. If your state requires you to collect bottle deposits, carefully consider all the information included in this article so that you can make sure you're prepared to take care of any resulting taxes.
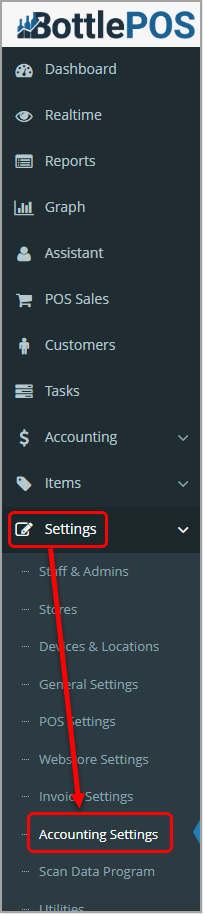
To set up your bottle deposits, click Accounting Settings in the Settings menu of your Admin system, then scroll down to the Bottle Deposit area. Admin privileges are required to complete the steps in this article.
Setting up Your Software to Take Bottle Deposits
Before beginning the processes of collecting deposits, familiarize yourself with your state's laws and regulations around how much bottle deposit tax should be collected for a given item.
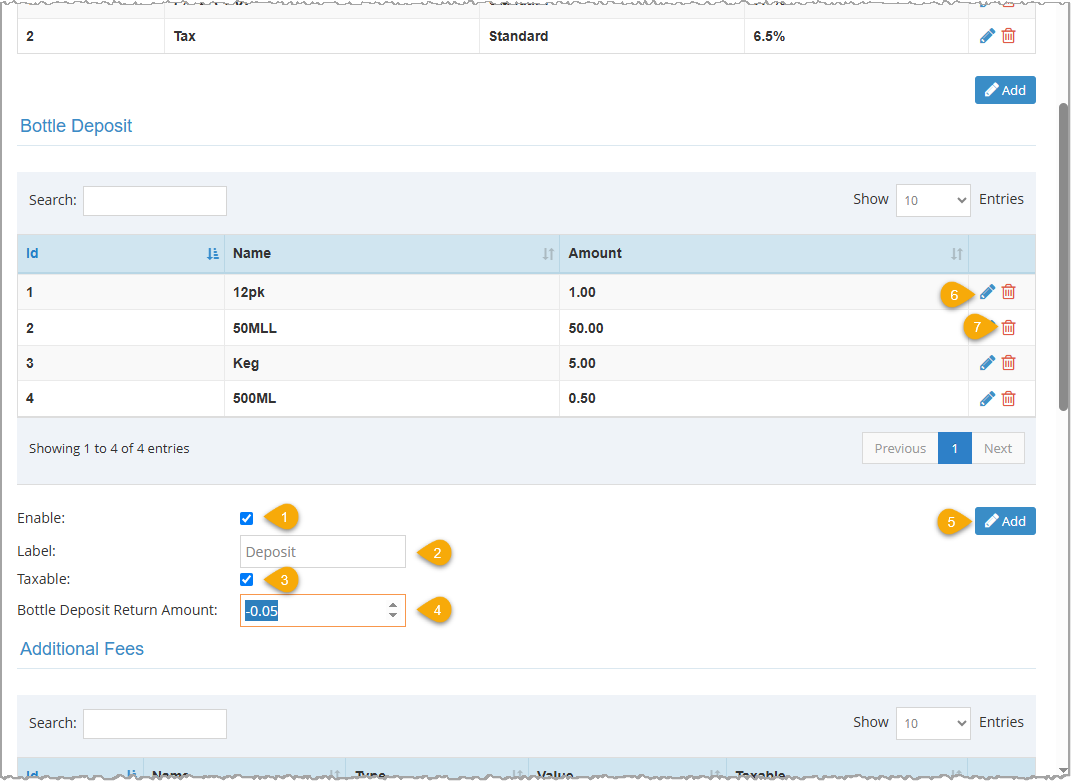
- Click the Enable checkbox to activate bottle deposits.
- Enter the name you want to use to identify the deposit fee on receipts and reports in the Label field.
- Check the Taxable checkbox if your bottle deposits are eligible for sales tax.
- Enter the amount you will give per bottle for a deposit return in the Bottle Deposit Return Amount box. Use the up/down arrows in the box to increase or decrease the amount by 1. The smallest selectable value is $0.05, but you can enter any value you want. This is a fixed amount but can be changed in the sale if needed.
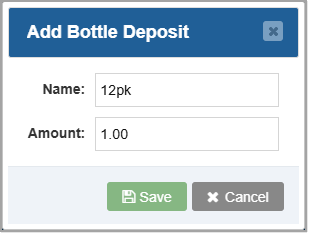
- To add a new deposit, click the Add button to open the Add Bottle Deposit window. Assign a Name and Amount to the deposit.
- To alter an existing deposit, find it in the table and click the Pencil Icon to open the Edit Bottle Deposit window. Change the Name or Amount as needed, then click the Save button.
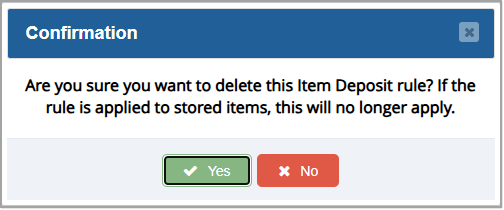
- To delete a deposit you no longer need, find it in the table and click the Trashcan Icon. Click Yes on the confirmation message to permanently delete the deposit amount.
Assigning a Bottle Deposit to Your Inventory
In your Admin software, go to Items > Items. The Items page will load.
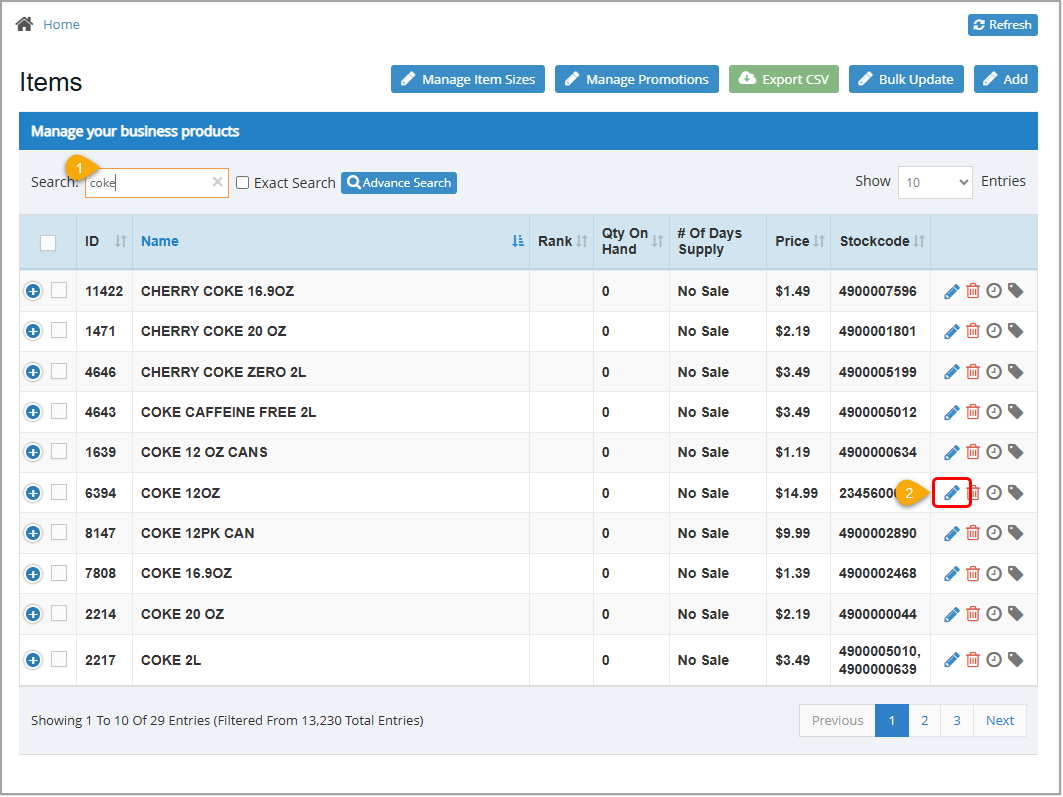
- Search for the item to which you want to assign a deposit using the Search, Exact Search, and/or Advanced Search options.
- Click the Pencil Icon for the Item you want to edit. The Edit Item window will open.
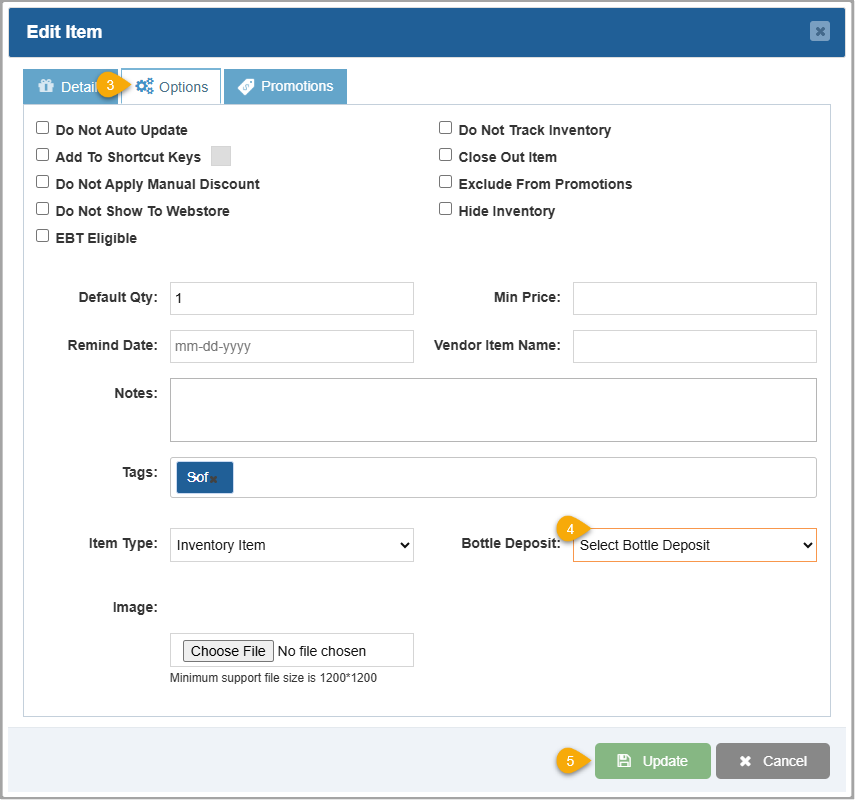
- Click the Options tab.
- Select a bottle deposit unit size and fee in the Bottle Deposit drop-list.
- Click the Update button.
Taking Bottle Deposit Returns
Some states require you to provide a bottle deposit return to customers who bring back their bottles. Do so through your Register app.
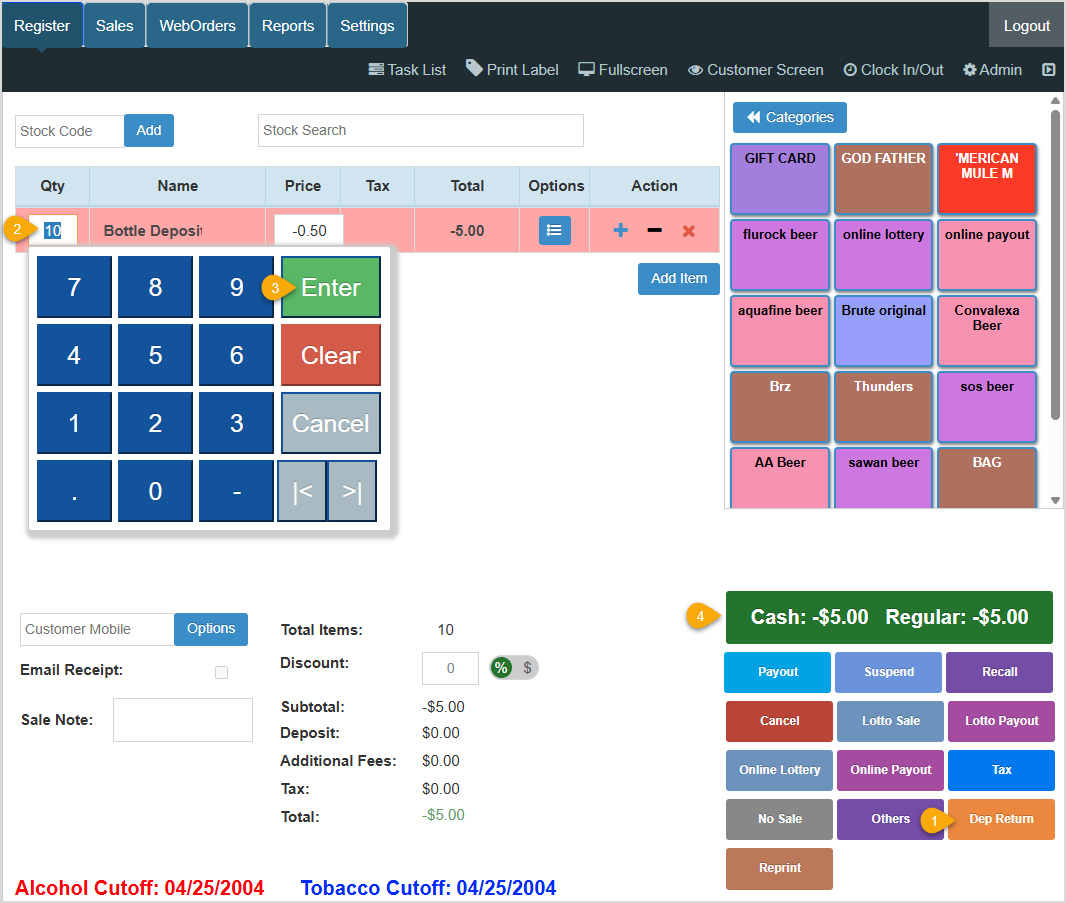
- On the Register tab, click the Dep Return hotkey in the lower right.
- Enter the number of bottles the customer is returning in the Qty field.
- Press your keyboard's Enter key or click Enter on the screen.
- If there are no other actions for this transaction, such as adding an item for purchase, click the Complete Transaction button to Pay and tender payment as normal.
Reviewing Collected Bottle Deposits and Deposit Returns
From the POS App
You can review deposits taken and returned from your Register Reports. Get started by accessing your Register app.
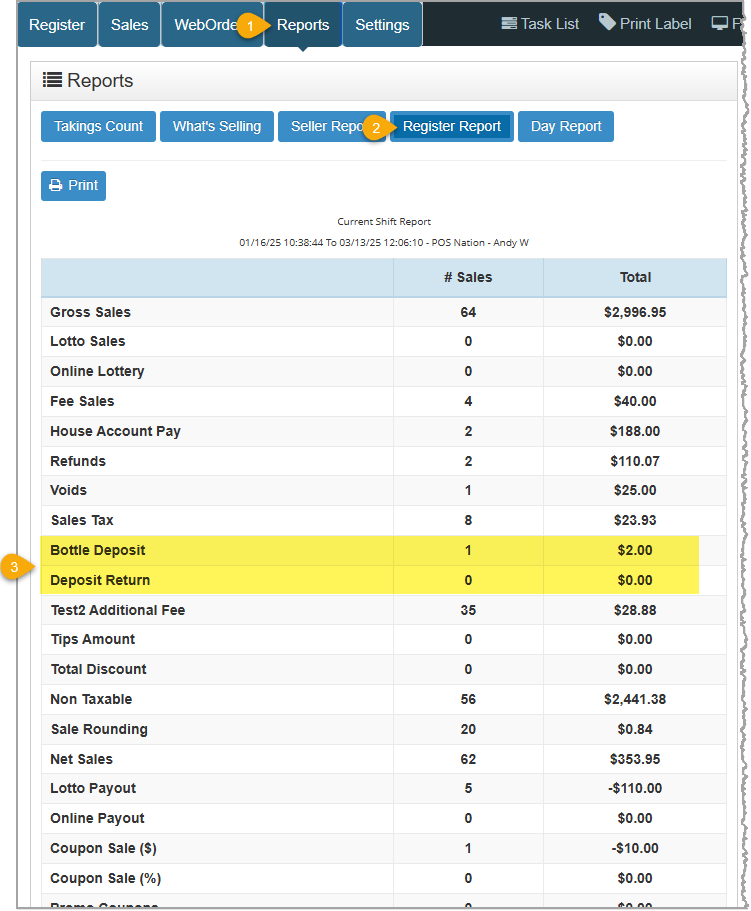
- Click the Reports tab.
- Click the Register Report button.
- Scroll (if necessary) to view Bottle Deposit and Deposit Return details.
From the Admin App
You can review deposits taken and returned from your Admin Reports. Get started by opening your Admin app and going to the Reports area. The Summary Report, which is the one you need here, will load automatically for you.

- Select your store, if needed, in the Stores drop-list (if you have multiple stores in the Bottle POS System).
If desired, select a shift in the Shift drop-list if your selected Range offers that option.
- Enter or select a range of dates in the Range box.
- Enter 'deposit' in the Search field to filter the report to only entries relating to deposits.
Related Topics
How to Add an Inventory Item
Register Report
Summary Report
Frequently Asked Questions
Q: I have too many items in my inventory to manually add bottle deposits individually. Is there an easier way to add bottle deposit unit sizes to items of the same size?
A: If you have common search criteria that you can use to separate these items, such as unit size or item name, you can use the Inventory Bulk Updater to quickly make these changes. Review this article for more information on how to use the Inventory Bulk Updater.
Q: I have a question, but I can't find my answer here, how do I get more assistance?
A: You can ask any question at the number below. Contact our 24/7 support team at: (877) 381-4087
 October 01, 2024
Is this page helpful?
×Help us improve our articles