Reprinting Transaction Receipts
Reprinting a Transaction Receipt You can reprint transaction receipts from the Bottle POS and Admin.
 October 01, 2024
Many stores like to add customers to the Register so they get credit for their purchases and build loyalty points for rewards. Take a look at how easy it is to work with your customers!
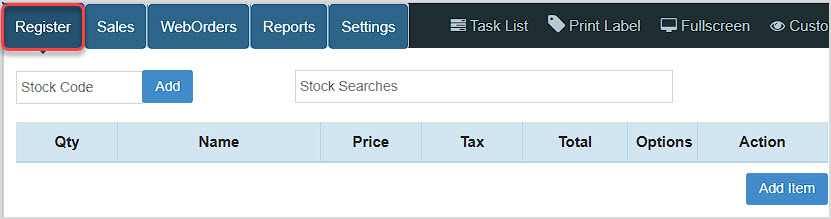
You can get to this part of the system by logging into your Register App. The Register will load for you, and you can work with your customers by adding a Mobile Number in the lower left.
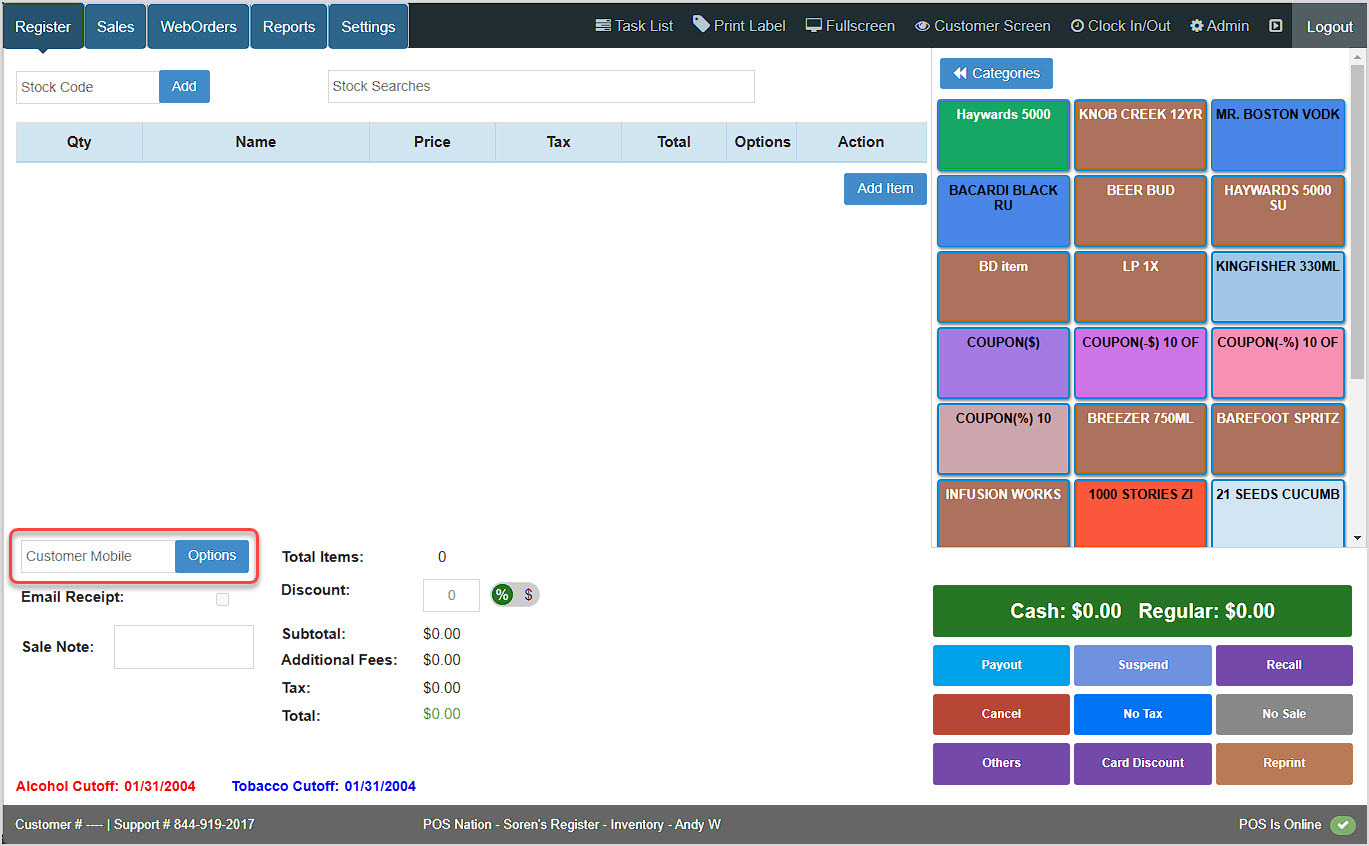
Use the Customer Mobile field in the lower left of the Register to search for or add a customer using either their mobile number or their name.
Please note that if you have configured a Customer Screen, the customer can enter their mobile number there to speed this process up. If they do so, if they are already saved in the system they will be loaded into the Register. If not, a window will pop up for you and you will be prompted to add them as a new customer. See the video near the bottom of this article for how this customer-facing process works.
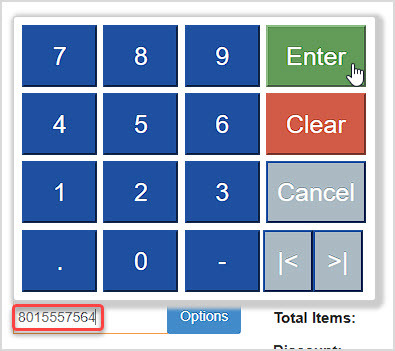
Search by mobile number. If the system has one or more matches, a drop-list will appear and you can click to load the customer. If not, click the Enter button to add a new customer.
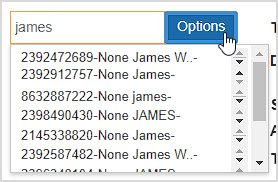
Search by name and matches will appear, click on the name you want or click Options to add a new customer.
If your mobile number or name search does not find the customer you need, when you click to proceed you will see this option window pop up prompting you to create a new customer:

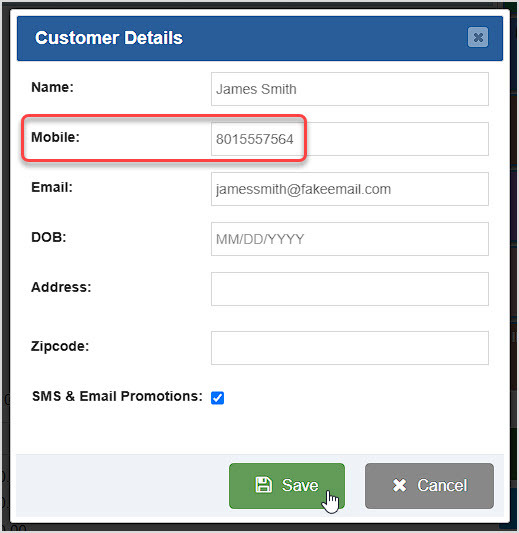
Click the Create New Customer button, and the Customer Details window will open. The only required field is Mobile. Enter the information you want in the Name, Mobile, Email, Date of Birth, Address, and Zipcode fields. If the customer opts into promotions you can check the box for SMS & Email Promotions. Click the Save button when you're done.
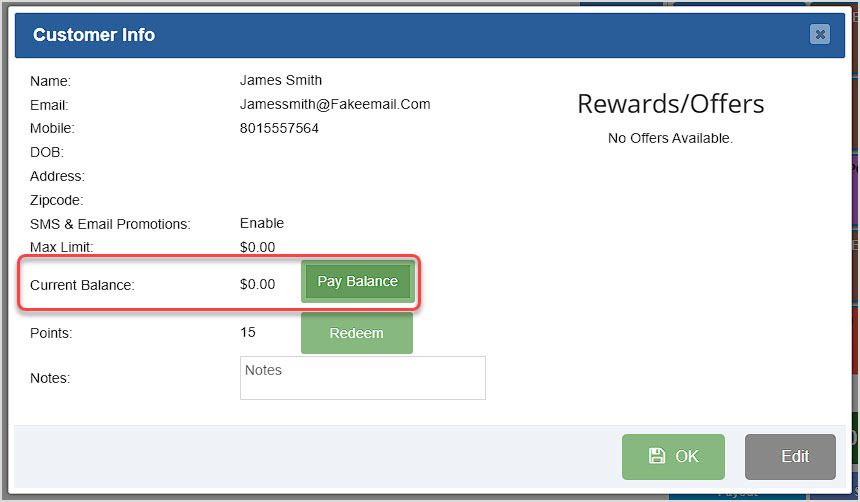
After saving, the Customer Info window will display. New customers won't have any Rewards or Offers yet, but as they earn points those will become available and you can redeem them here. Review the information and click the Edit button if needed, click the OK button when you're ready to start the transaction.

With the customer loaded, their Mobile number will appear and they'll start building Reward points for eligible items they purchase.
House accounts are customer accounts to which a customer can charge purchases without paying immediately, like opening a tab in a bar.
To start setting up customers with this permission, log into your Admin App and click Customers on the left. Search for the customer you want. Click the Pencil Icon on the right to open the Edit Customer window, as pictured below.
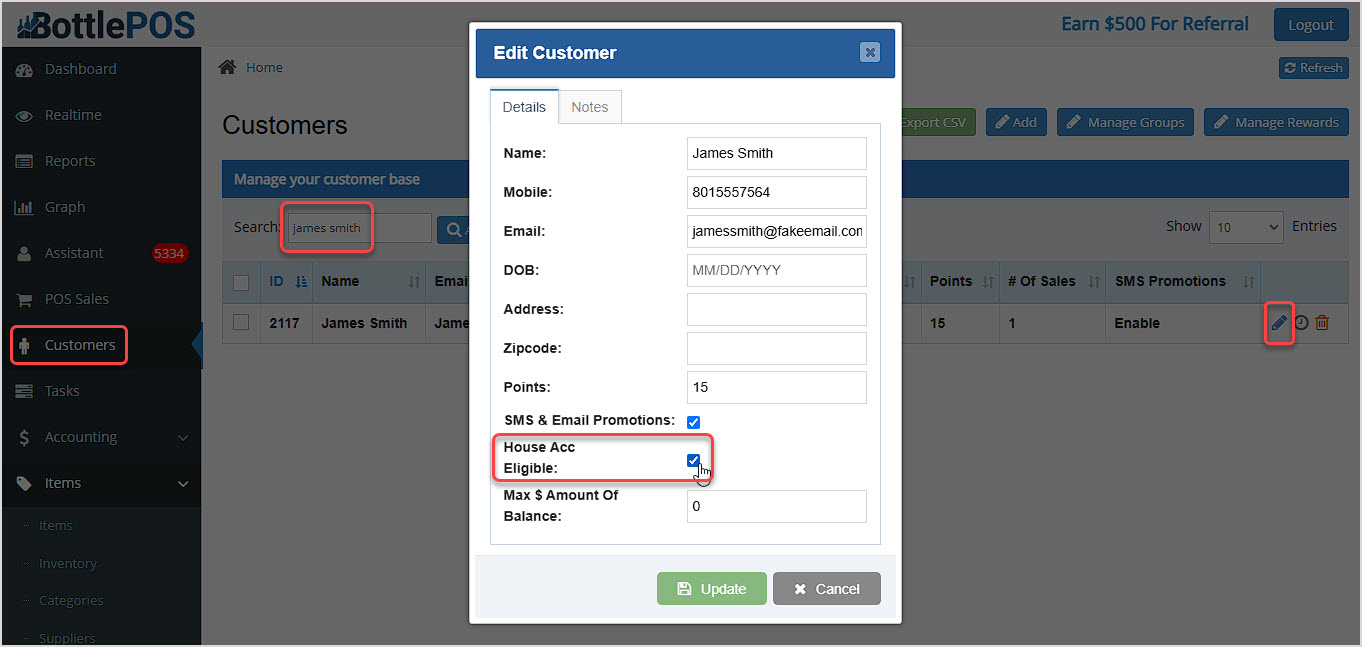
Check the box to make the Customer House Account Eligible, then click Update to save the change to the account. Now when you load the customer into the Register, you will see an area in the Customer Info window to Pay Balance if they have one.
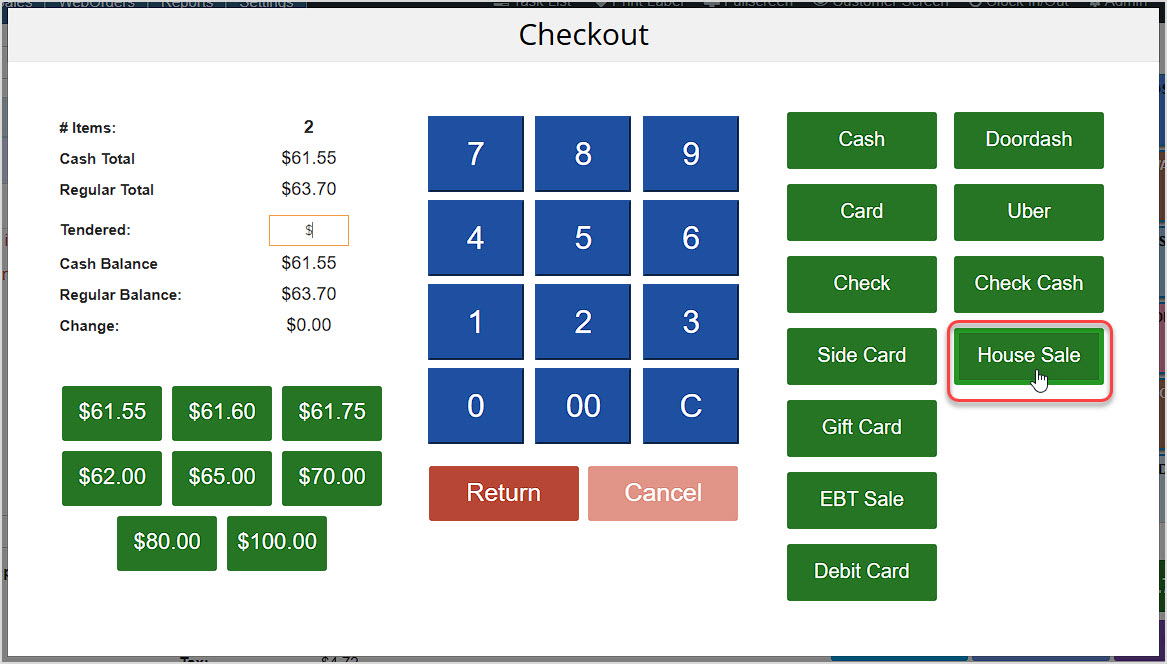
When you collect payment for a transaction, in the Checkout window you'll see the option to use House Sale to pay for the transaction. Click this button to charge the full amount to their account, or enter a partial amount into the Tendered field and then click House Sale.
You will need to invoice a customer for each transaction contributing to their House Account balance. To begin, open the back office Admin App and go to the Customers area. Search for the customer and click the Clock Icon on the right to open the Customer History window, as pictured here:
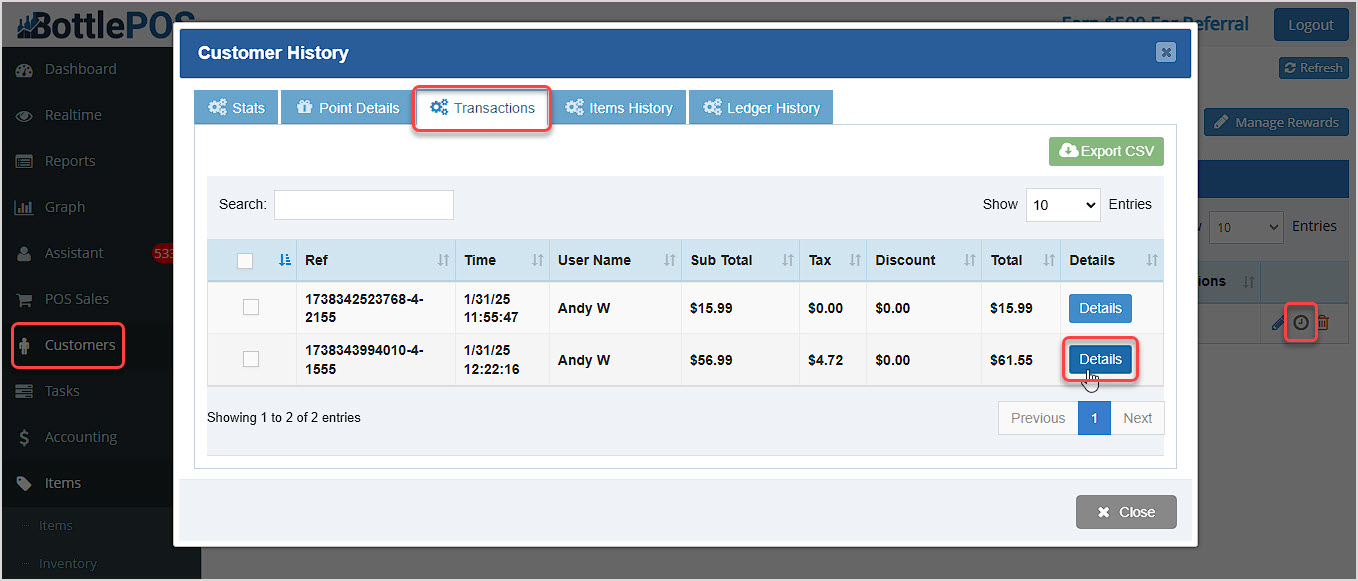
In the Customer History window, go to the Transactions tab, find the transaction you want, and click the Details button. The Transaction Details window will open.

In the Transaction Details window, click on the Options tab near the middle and either click the Generate Invoice button or the Email Invoice button.
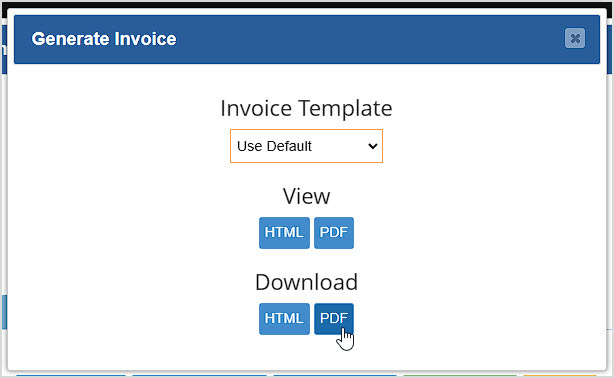
If you click the Generate Invoice button, you can choose an Invoice Template, then either View or Download the invoice. You can use HTML in an email to make the email message be the invoice, or you can download a PDF of the invoice, if needed.
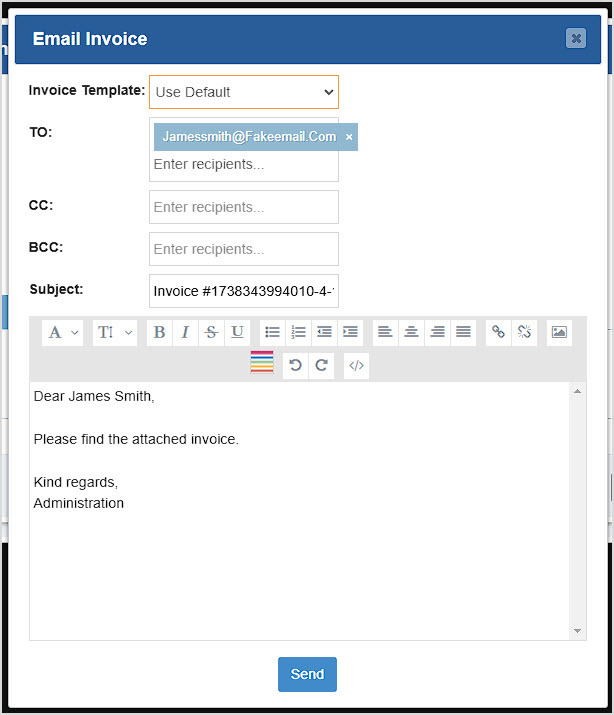
If you click the Email Invoice button, an editor will open with the customer's email address already populated for you and you can adjust the text as needed. A PDF file of the invoice will automatically be attached.
Here is a short video on how the customer can enter their own information on the Customer Screen, and how you can add them to your Rewards program:
How to Create and Manage Customers
How to Set Up and Use a Customer House Account
How to Enable and Use Customer Loyalty
How to Generate and Email an Invoice from a Sale
Q: Do I have to use the Register to add a new customer? What if I'm in the Admin app?
A: You can add new customers from the back office Admin from the Customers page by clicking the Add button in the upper right.
Q: How can I see my customer balances for those I've given House Accounts?
A: You can see a list of all customers with that permission and their balances in the Admin by going to Reports and in the reports dropdown, clicking House Account Report.
Q: If a customer is tax-exempt, how do I set that up properly?
A: This article can show you how to configure tax for a customer or business: How to Disable Tax for a Customer or Business
Q: I have a question, but I can't find my answer here, how do I get more assistance?
A: You can ask any question at the number below. Contact our 24/7 support team at: (877) 381-4087
Is this page helpful?
×Help us improve our articles